july 11, 2013
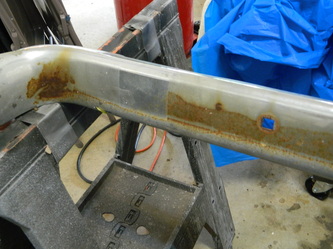
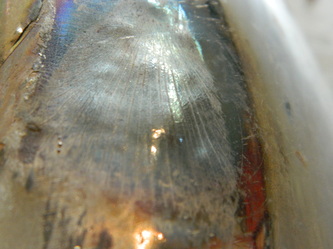
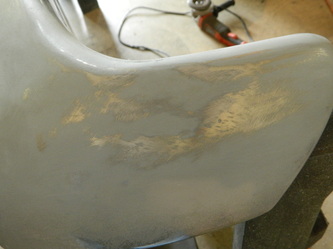
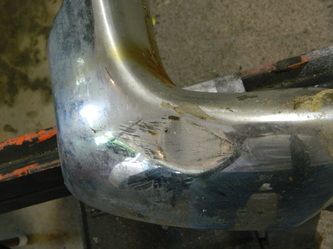
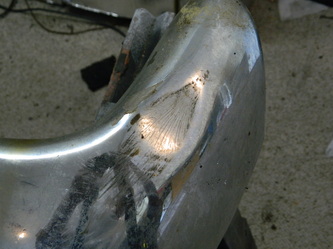
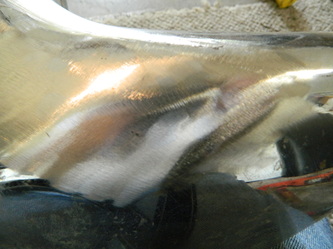
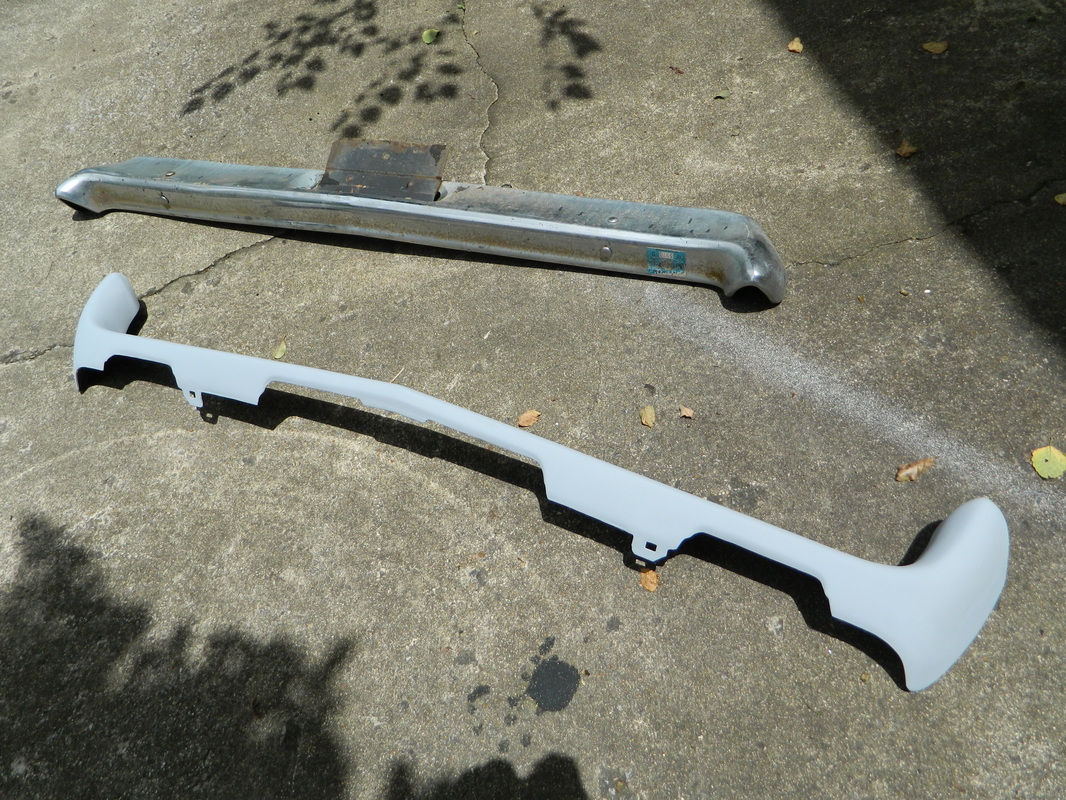
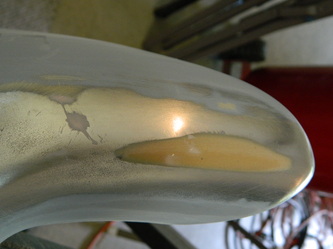
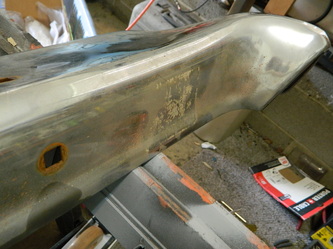
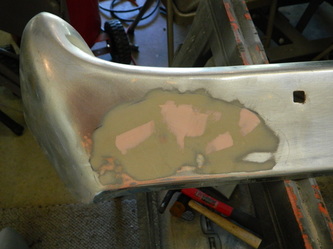
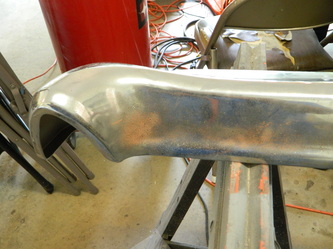
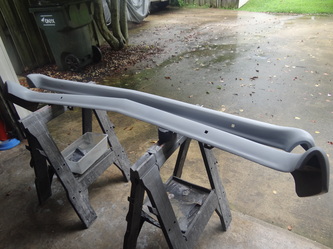
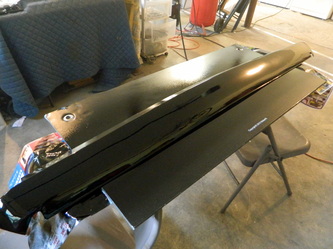
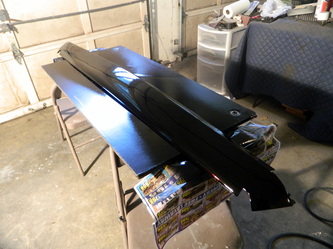
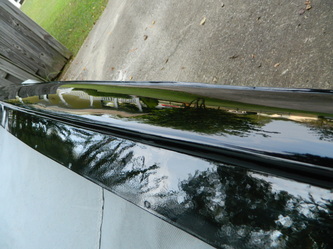
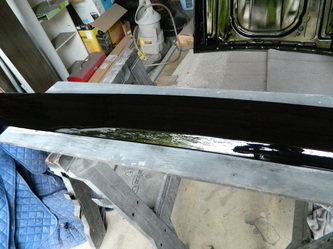
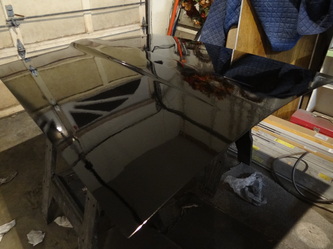
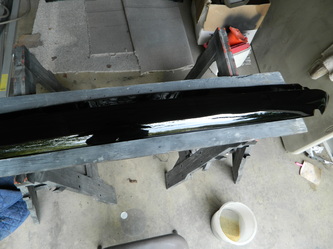
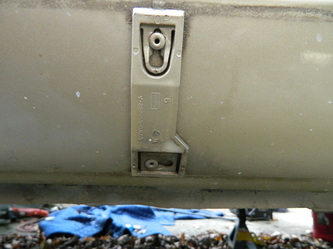
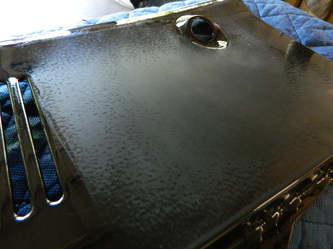
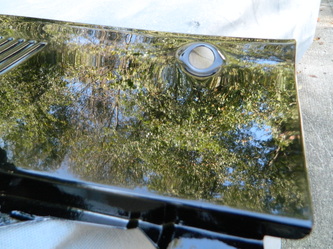
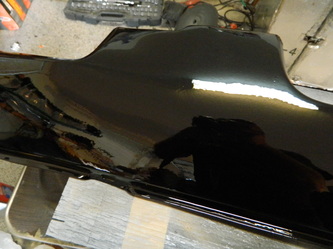
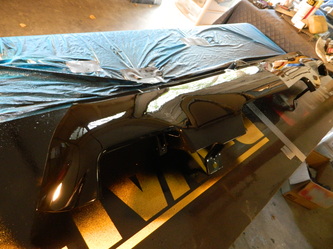
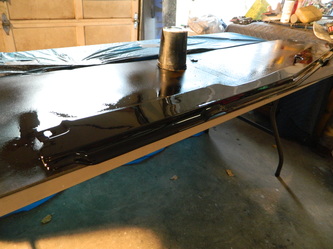
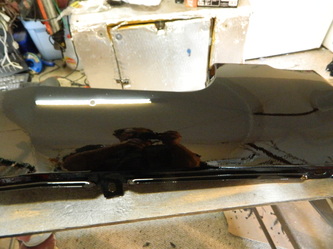
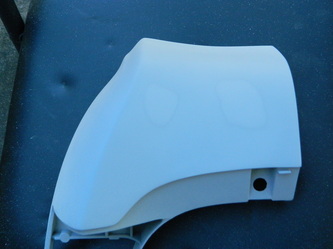
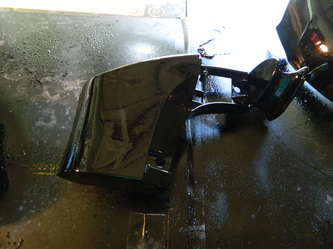
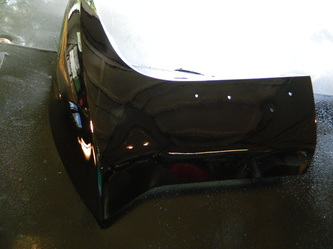
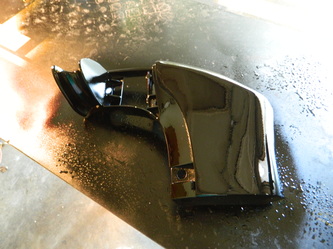
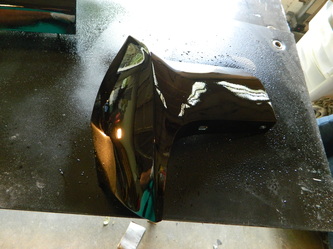
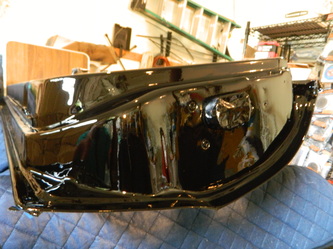
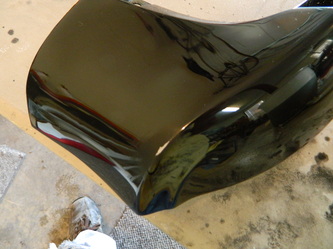
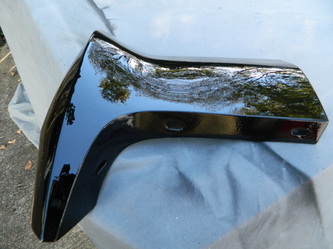
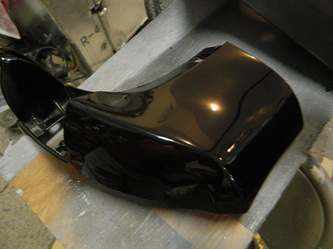
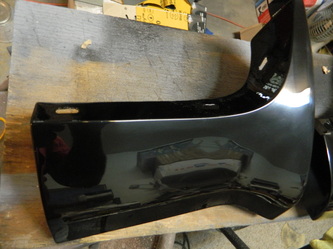
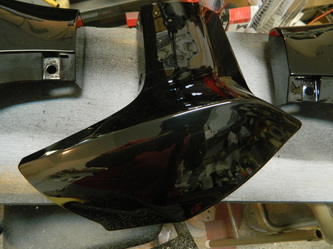
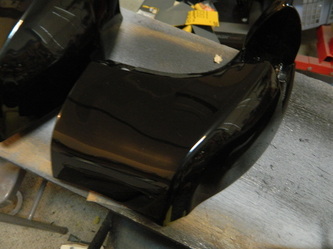
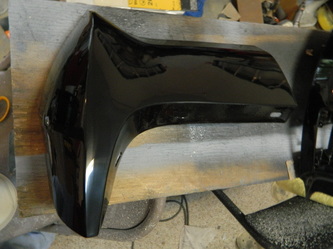
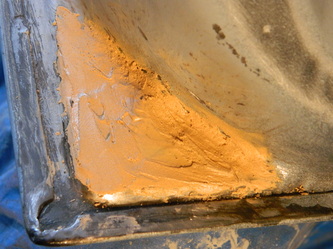
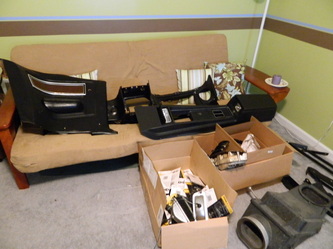
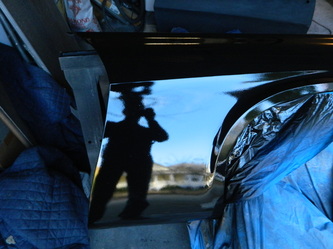
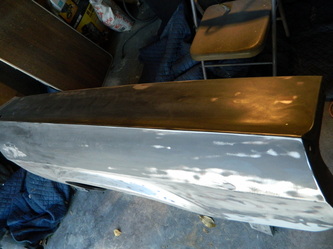
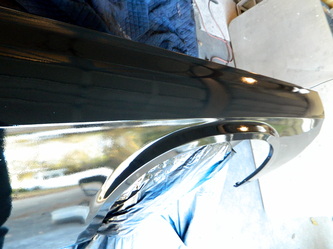
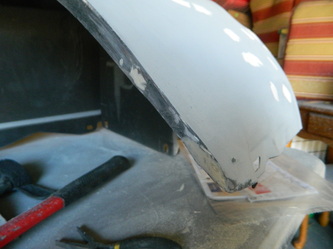
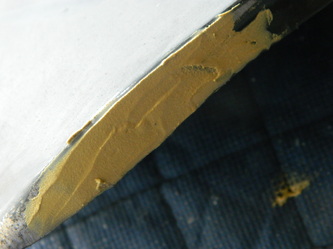
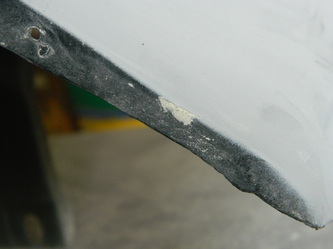
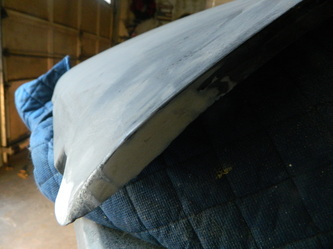
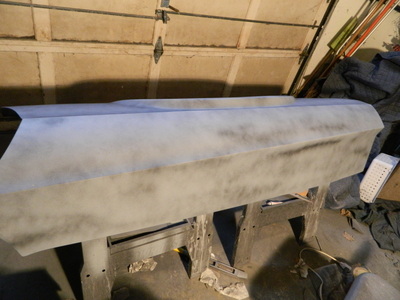
Today, since it was still damp and mucky from all the rains, I elected to work on the front bumper inside the garage. Since it has a dent and surface rust it would need some work and chroming which comes to about $325 per bumper
(exchanged). So, for now..it is going to be straightened out and painted the body color (to be determined). I took quiet a few pics to detail what it takes to get something like this accomplished and the tools involved. It's still not finished..with a couple more hours on top of the 4 that I did today..maybe finished.
(exchanged). So, for now..it is going to be straightened out and painted the body color (to be determined). I took quiet a few pics to detail what it takes to get something like this accomplished and the tools involved. It's still not finished..with a couple more hours on top of the 4 that I did today..maybe finished.


july 15, 2013
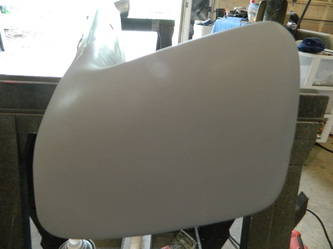
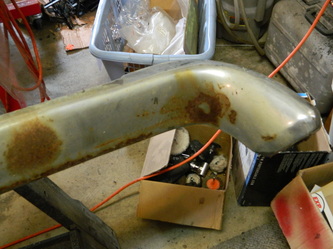
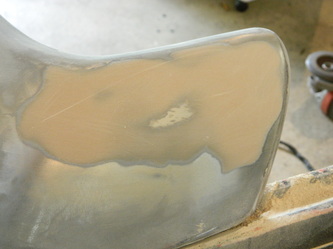
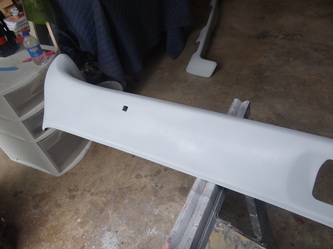
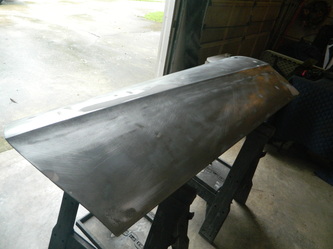
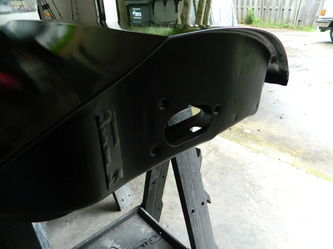
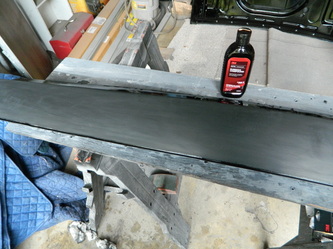
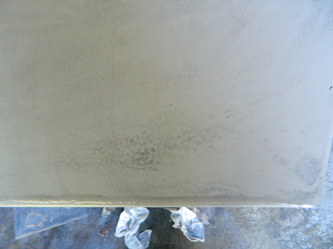
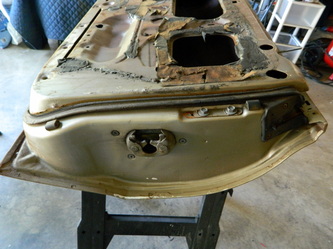
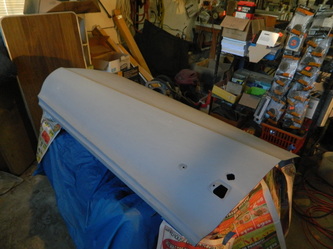
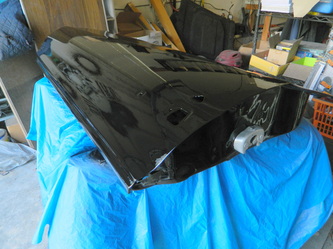
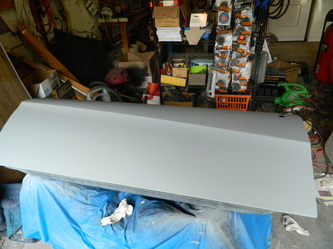
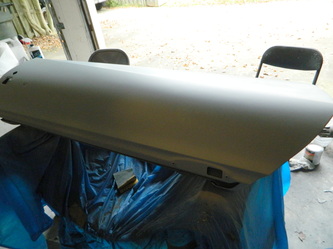
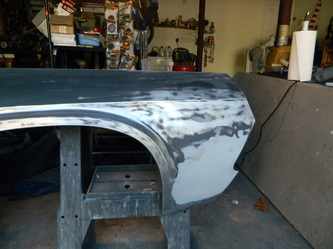
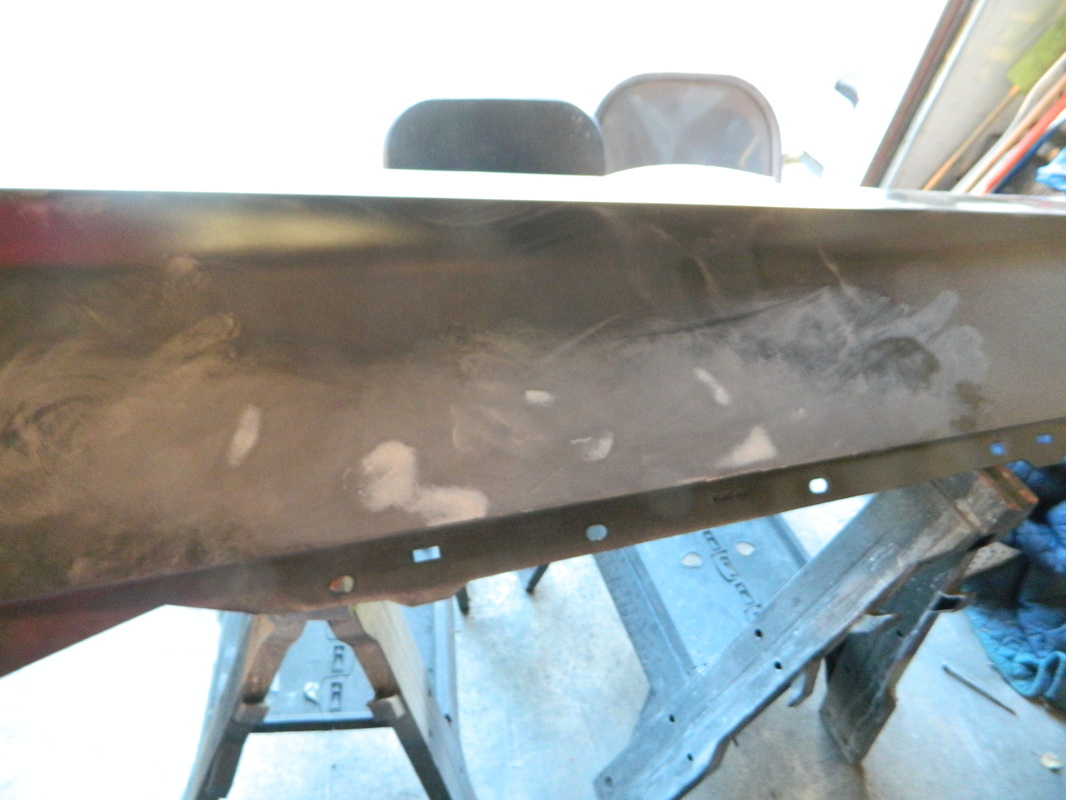
Today I finished up sanding down a few small bondo patches and then primering the whole bumper. I found a couple of small places that need some work. I also blasted the rear bumper inside and out in preparation for the body work on it.
3 hrs.
3 hrs.
july 17, 2013
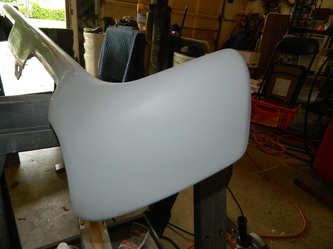
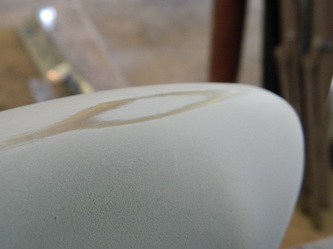
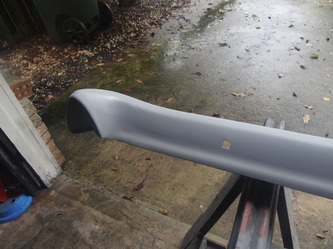
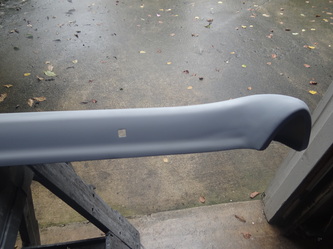
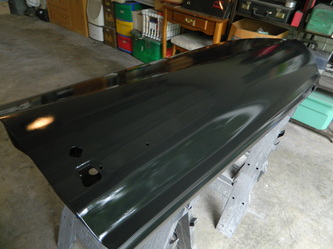
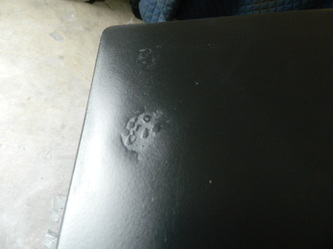
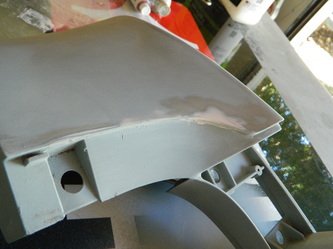
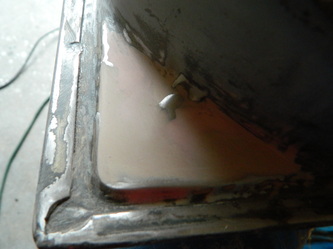
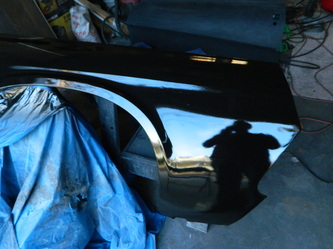
Well, after finishing the front bumper I noticed a small flat spot on the passenger side top corner. So, before starting on the rear bumper I filled it out and reprimed it. Then...although I thought the rear bumper was pretty straight and dent free, I am ending up doing MORE work on it than the front! total time today 3 hrs


july 22, 2013
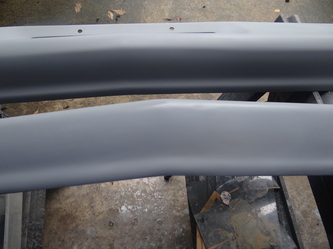
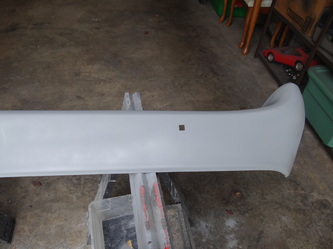
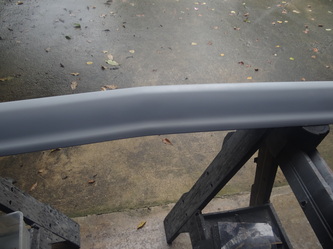
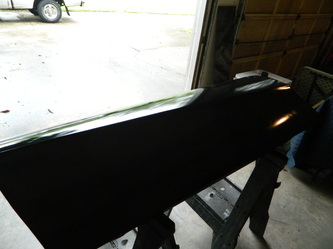
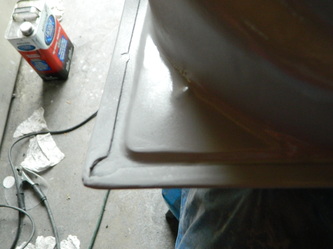
Another boring day of smoothing out tiny imperfections on the rear bumper. But, they are both finished and primed and stored upstairs. The weather has been either too hot or too wet..either way I would melt so...3 hrs today
july 30, 2013
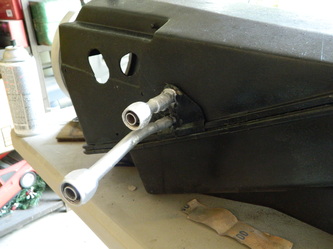
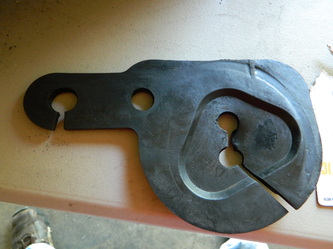
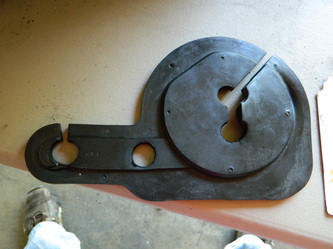
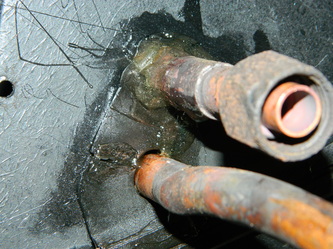
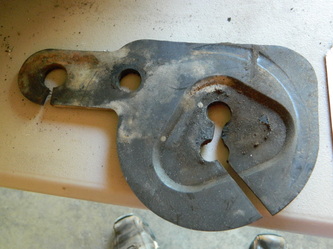
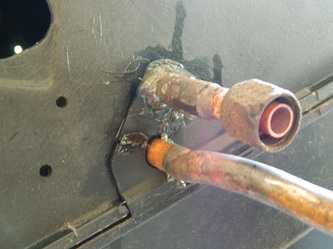
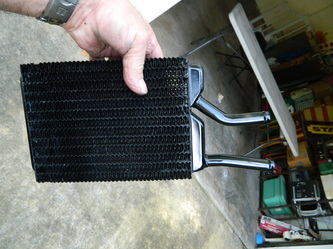
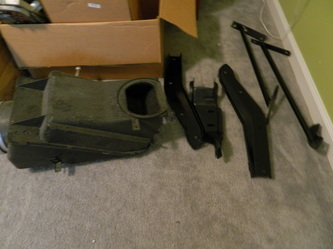
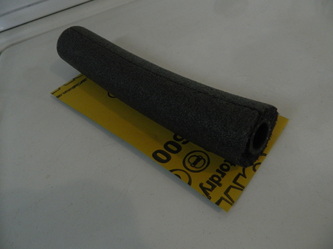
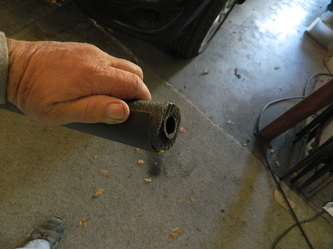
It's been a few days..but today I got out the A/C plenum and tweeked the freon lines into the right position. The rubber insulator gasket had broken into 4 pieces while I was taking it apart. This part is not reproduced so, I epoxied it back together. Again..it doesn't seem like much, but I spent 2 hours on it. Oh and Happy Birthday to me, I got a new HVLP paint gun and detail gun kit from the gift card and cash I received this weekend!


aug 01, 2013
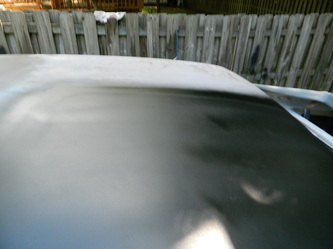
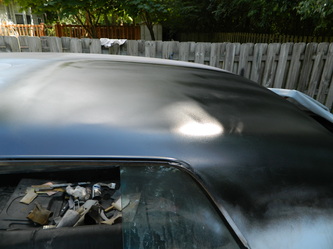
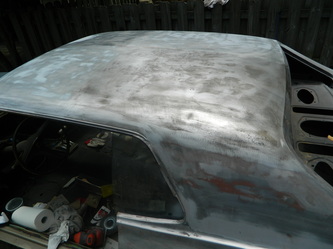
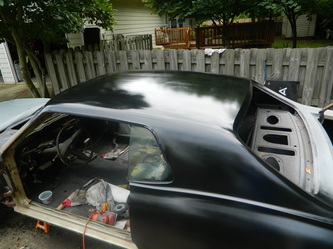
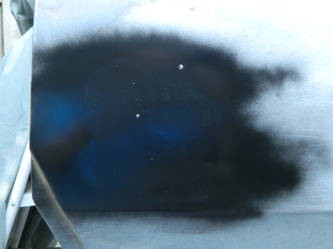
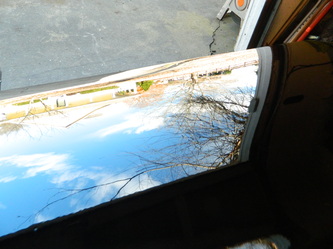
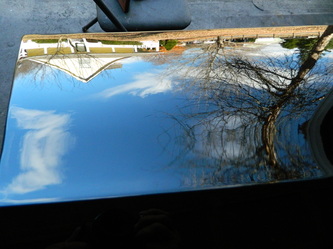
Yesterday, I worked on the driver side of the top in the front and then primered it. Today I did the rear section but had used all my temporary spray can primer..so I used a little duplicolor paint shop black base in my new detail gun, just to see how it would spray. It works great. I just got my epoxy primer from SPI so, I will have plenty to do sanding off all the rattle can primer to shoot some quality paint on it. yesterday and today combined 6 hrs.
aug 04, 2013
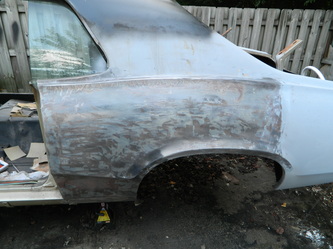
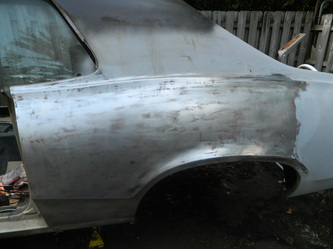
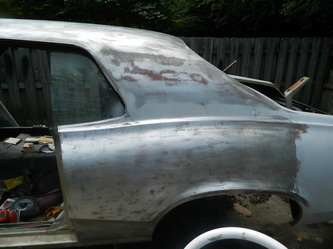
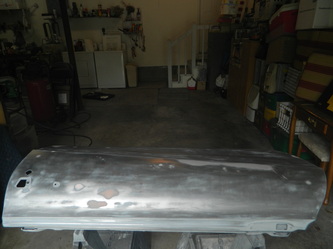
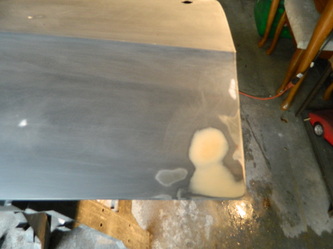
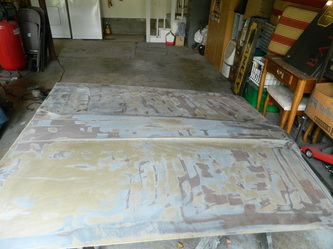
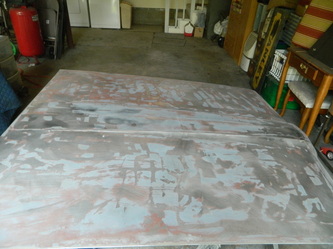
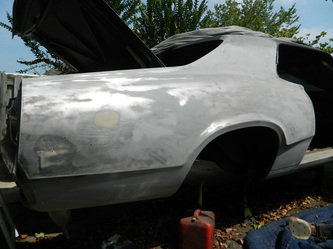
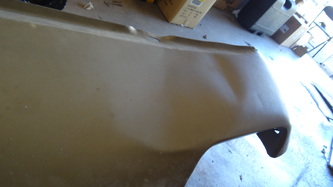
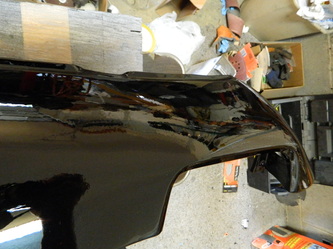
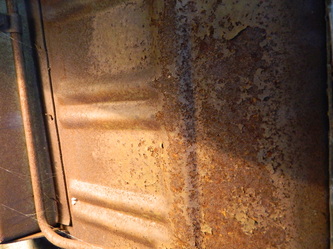
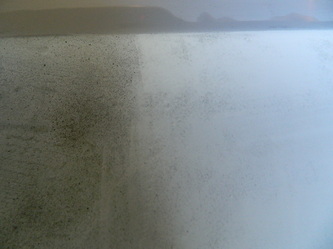
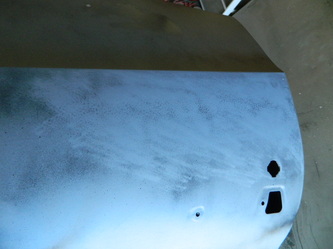
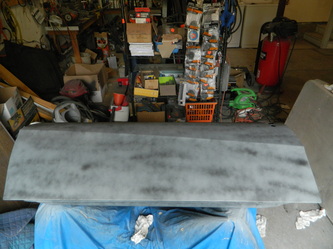
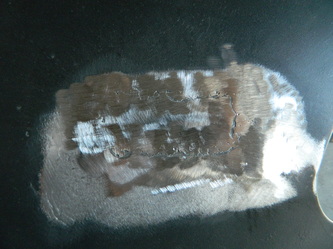
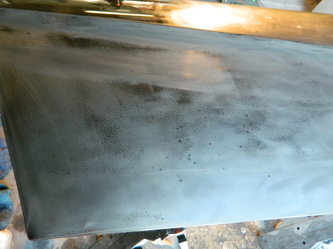
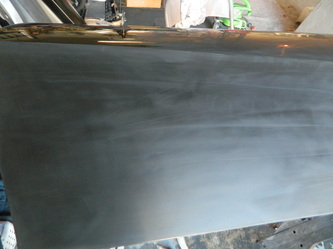
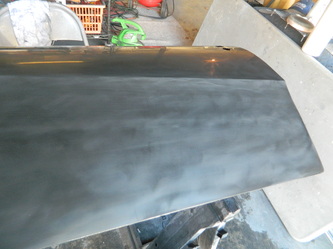
I stripped the last panel today, and now after a once over with 80 grit in the orbital sander, I can clean it and then shoot the epoxy primer. I have all day tomorrow to work on it..but Tues I start back to work. The first pic is after the paint remover and second is after 65 grit on a palm sander. 3 hours today
aug 05, 2013
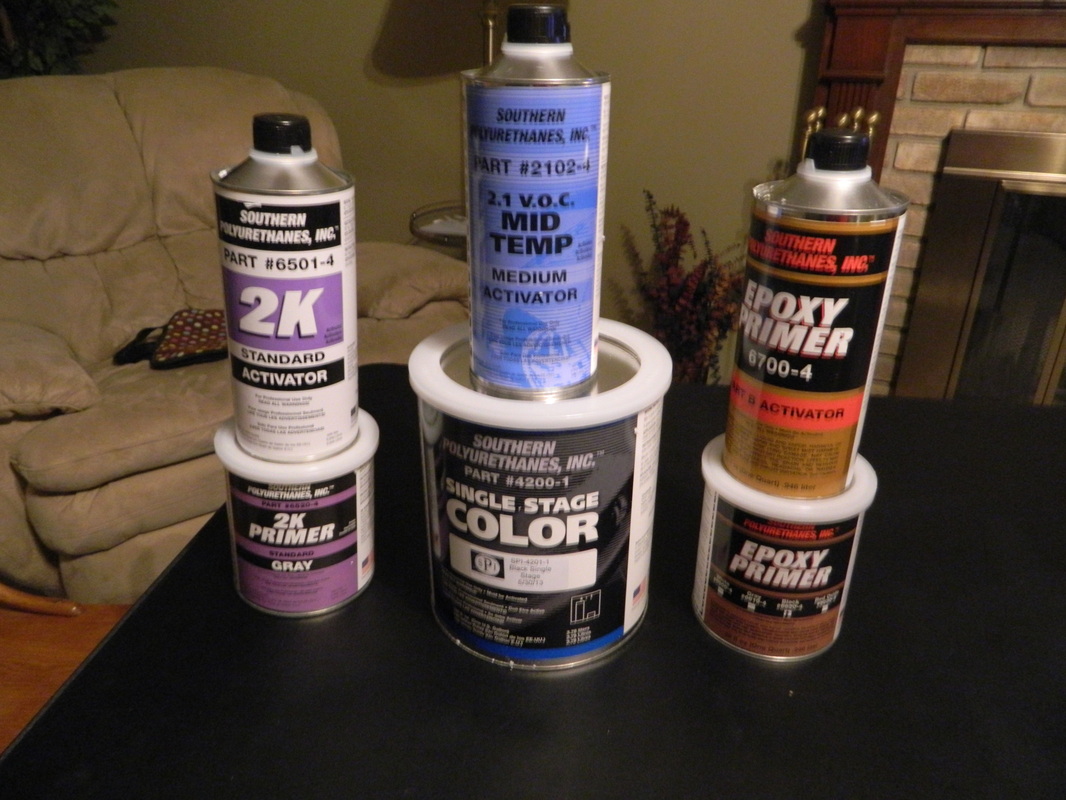
Well...I finally got some new primer on the car! This is Southern Polyurethane Inc's epoxy primer. This is some really good primer shoots smooth as butter. I put two wet coats on it. In the next couple days I will sand and shoot the remainder of the quarters. And as for my new Harbor Freight HVLP spray gun..(I know you're thinking Harbor Freight=china junk) but its really a nice gun compared to their other cheapy gun. I had no problem adjusting it at all. All together with the sanding, cleaning, painting and clean up 4 hours.
aug 09, 2013
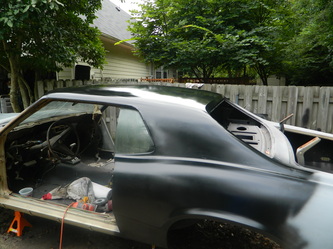
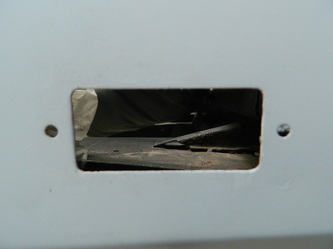
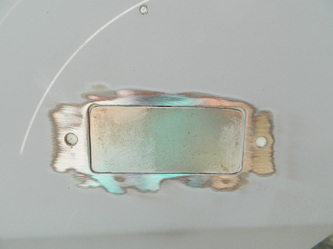
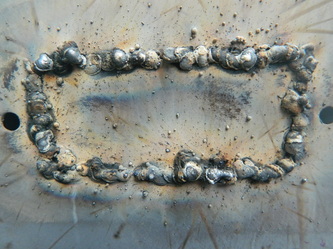
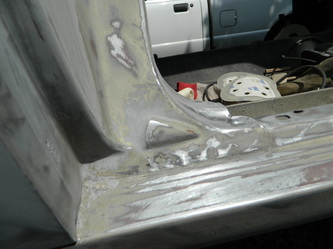
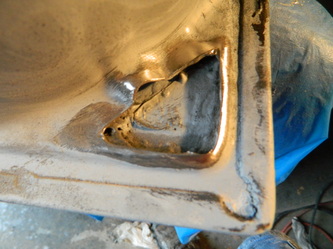
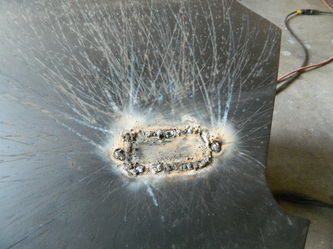
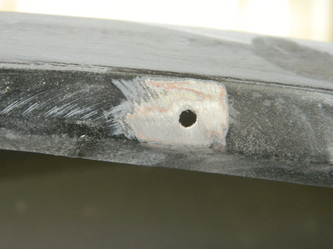
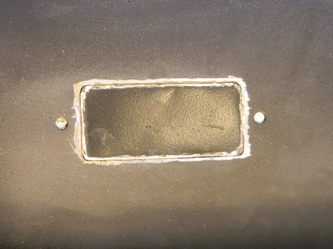
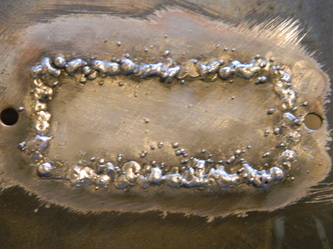
Despite the 100 plus humidity I got out and started welding the rear side marker lights. Made two blanks to weld in but, after 2 hrs out there..only got one finished.

aug 14, 2013
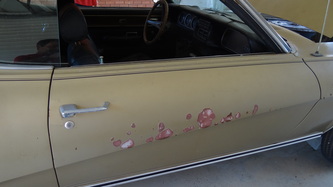
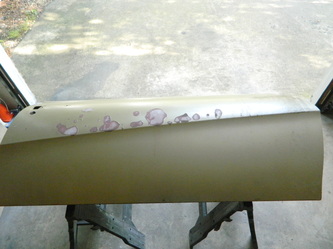
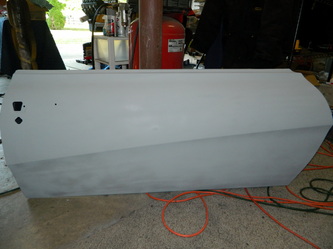
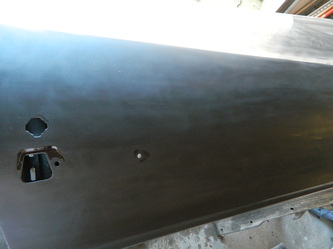
Raining today, so I stayed inside the garage and stripped and primed the driver door 2 hrs
aug 16, 2013
Ok, same thing for the passenger door, then I switched doors and did some minor body filler and spot filler fixes and wet sanded the entire door down with 320 grit and now I believe it is ready for primer surfacer. 5 hours total

aug 19, 2013
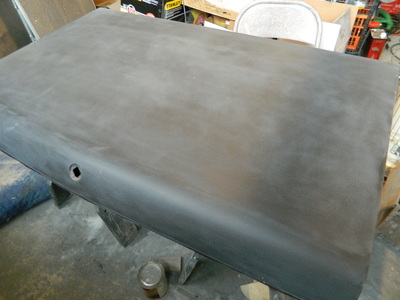
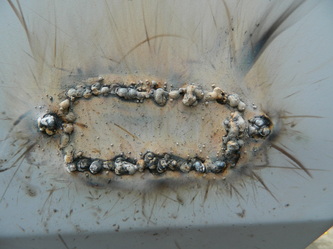
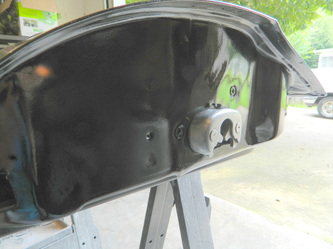
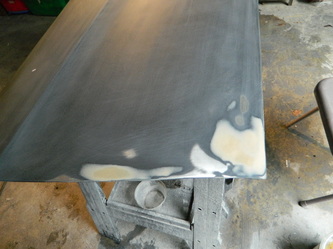
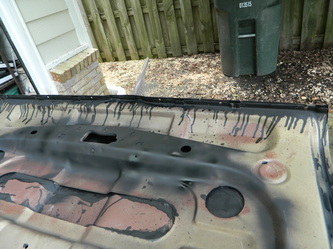
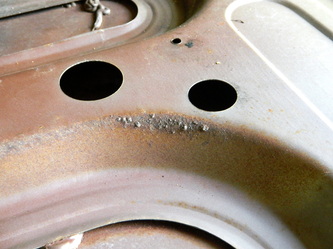
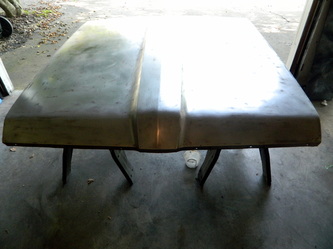
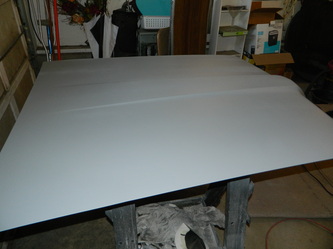
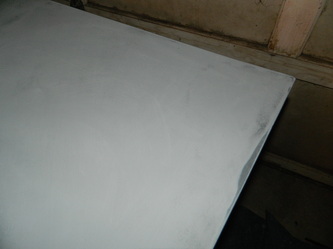
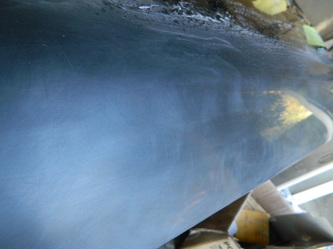
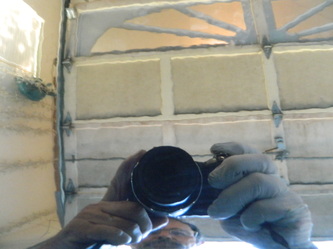
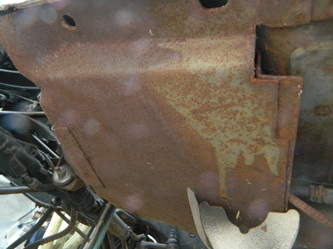
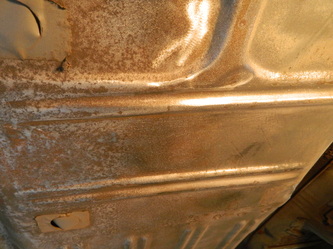
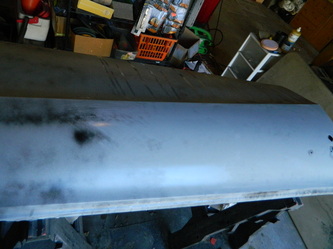
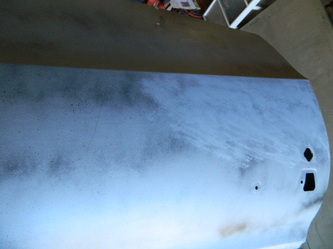
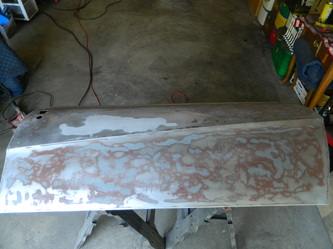
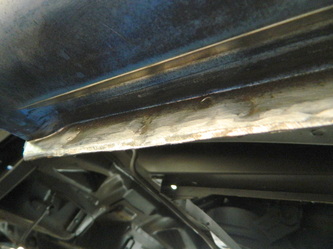
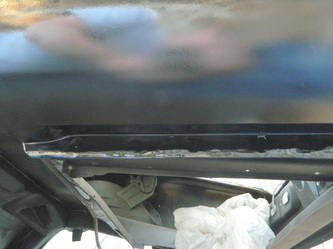
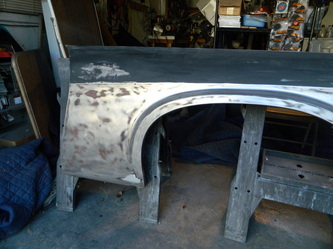
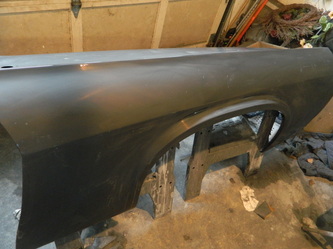
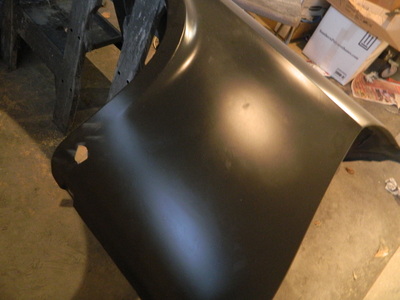
Today, I started on the hood. First, I used a wire wheel to knock off the scale and then 80 grit on the orbital to remove the rust. Last, I used the media blaster to get into the tight places. Next, I used a remote spray nozzle on a 24" hose to spray inside the double panel under the hood. I sprayed Rustoleum rust reformer just to seal the seams and hidden areas. 3 hrs


aug 20, 2013
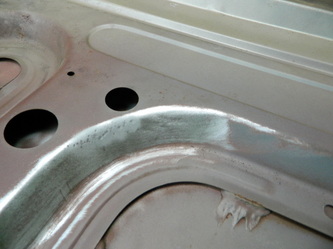
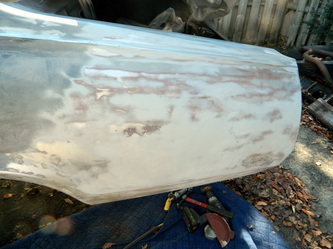
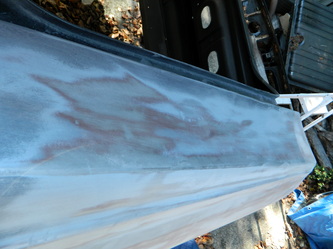
Today I worked on the hood again, stripping and sanding the shiny side. 2 hours
aug 23, 2013
Look what showed up at my doorstep today!
aug 25, 2013
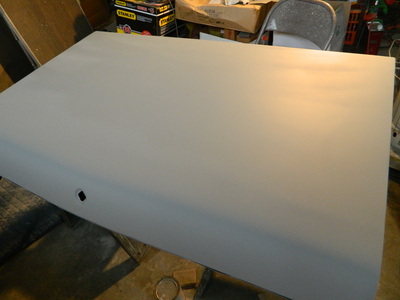
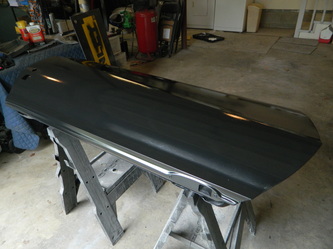
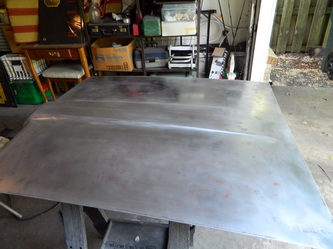
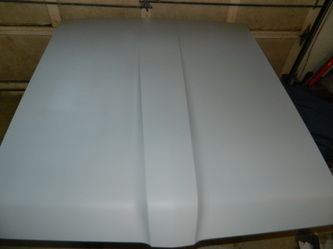
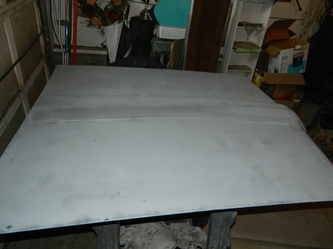
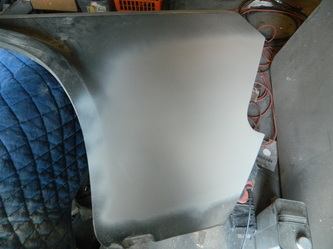
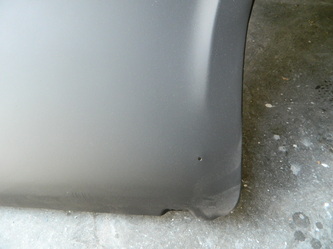
Today..I finished sanding the hood down and shot 2 heavy coats of epoxy primer on it..It will need a little work to get it perfectly smooth..but that's another day. 2 hours
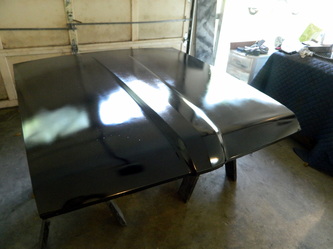

aug 27, 2013
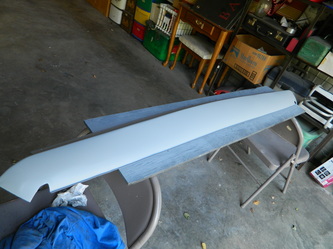
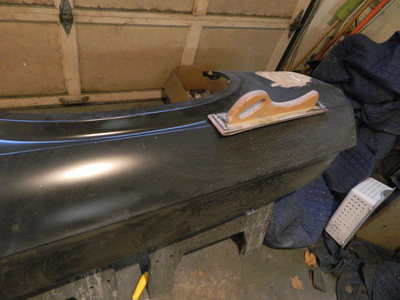
Today, I scuffed up the epoxy I shot yesterday and applied 3 coats of 2K build primer to the hood and the rear lower valance. It turned out flawless..well we'll see after I do a glide coat and block sand it. 2 hours.

aug 28, 2013
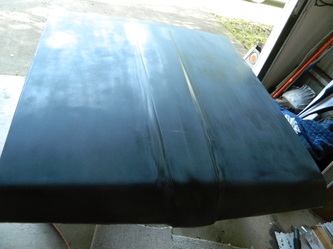
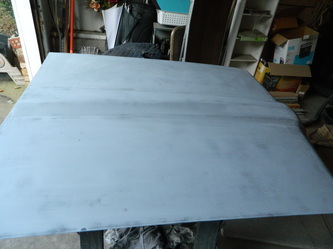
Well, today after a 9 hour day at work, I came home and sanded the hood since I had already shot a glide coat on it late yesterday..so not much to look at. Yesterday's pics look better. 1 hour
aug 29, 2013
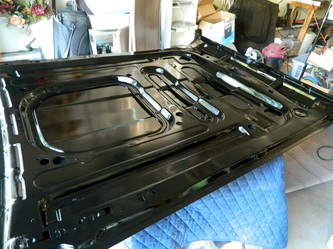
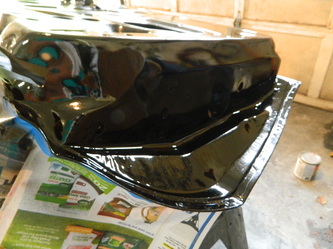
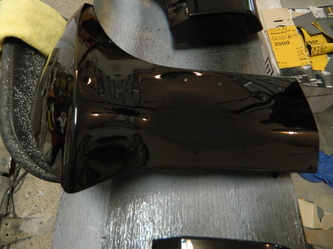
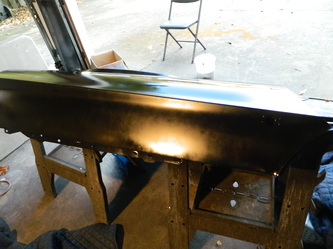
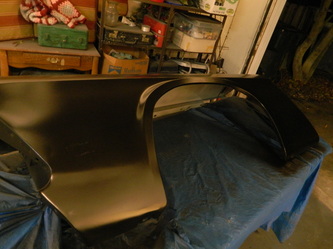
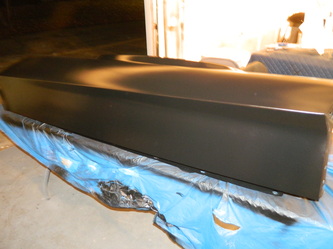
This morning I slung some single stage black in the general direction of the lower valance and under side of the hood. The valance turned out nice and shiny, except for a small amount of dirt. I expected as much and plan on color sanding and buffing it and the rest of the car anyway. Under the hood is some orange peel but it will be mostly covered with insulation anyway. 4 hours
sept 01, 2013
Today, I sanded the valance with 1000 and 2000 and then buffed it. 2 hours


sept 04, 2013
Today, I shot the hood and had a couple of kamikazi bugs that gave up their lives to screw up my paint job, other than that it looks good other than a little orange peed here and there. I believe it all can be fixed with some sandpaper and rubbing compound. 2 hours
sept 07, 2013
I've been working a lot so not much time to work on the Cougar...but still sanding on the hood, trying to salvage the paint I shot and not have to respray it. sorry no pics today. 2 hrs
sept 09, 2013
Today I made the decision to sand the hood down and reshoot it, as the orange peel and bug craters were too much to deal with. I finished sanding it today and will possibly shoot it Thursday, as I am off that day. Last time I was in too big of a hurry and that was my undoing. no pics today either..its black and dull :} 3 hrs
sept 16, 2013
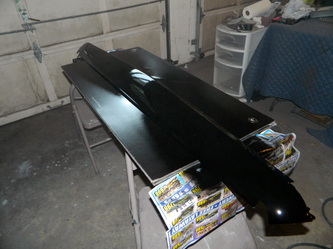
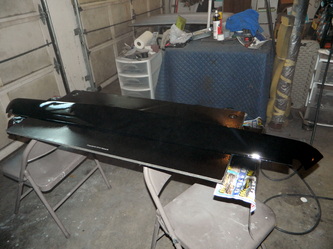
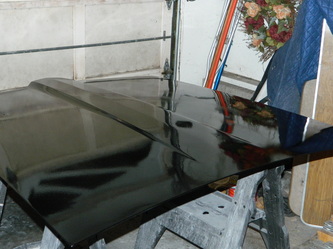
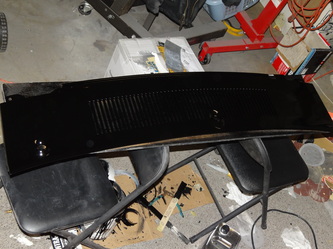
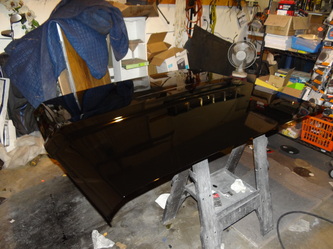
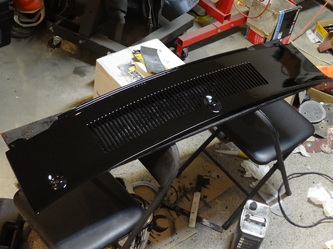
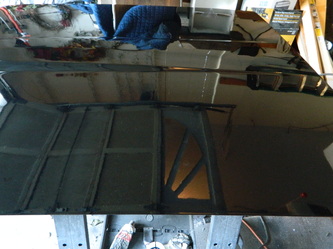
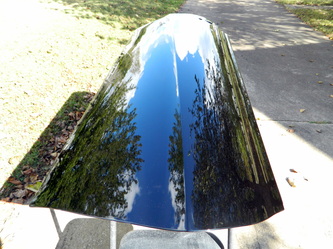
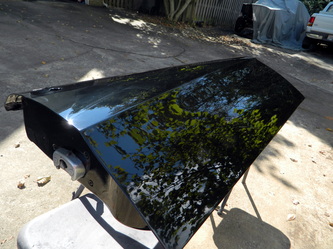
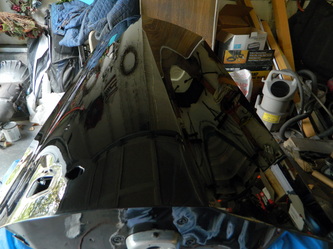
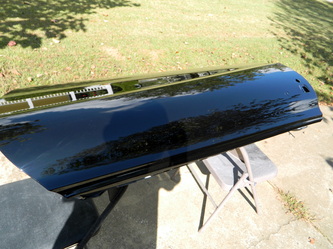
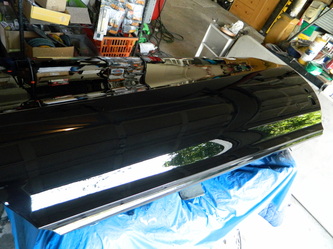
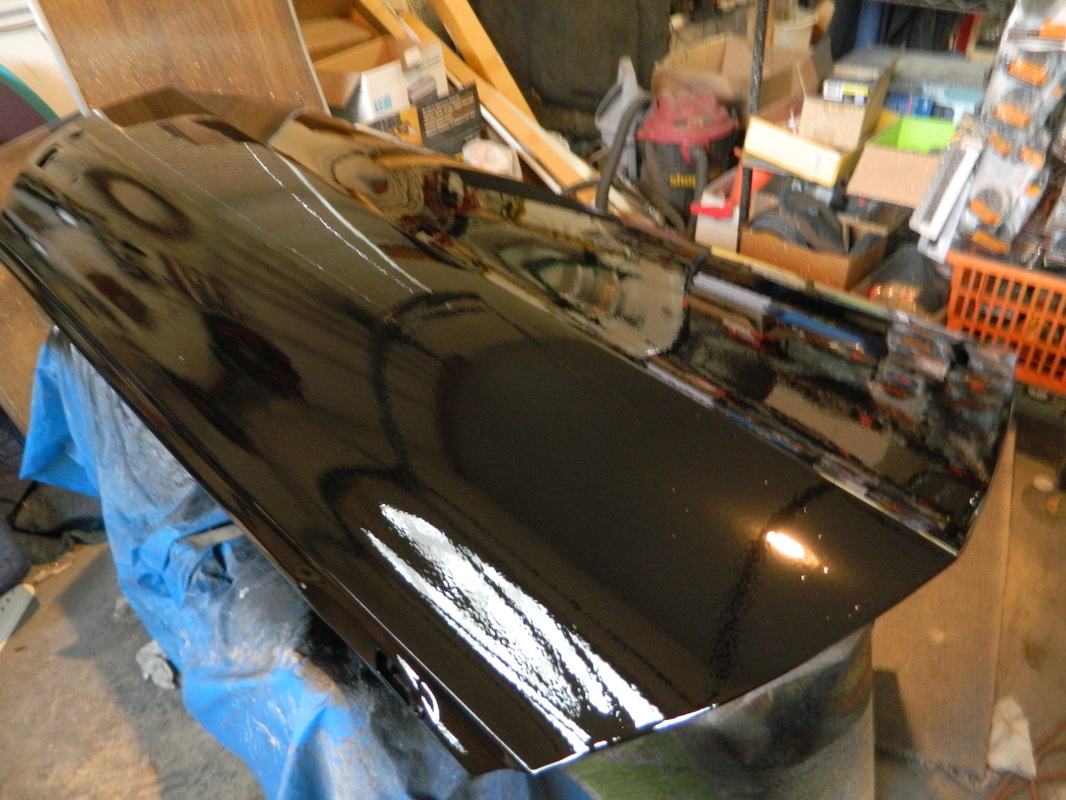
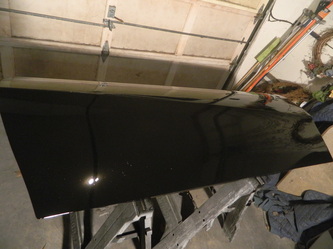
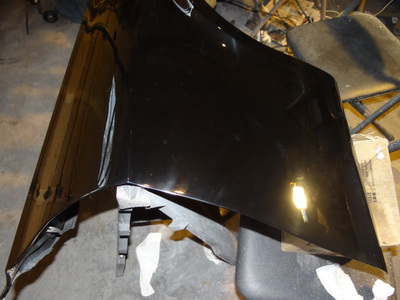
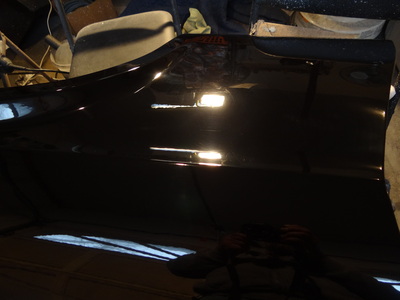
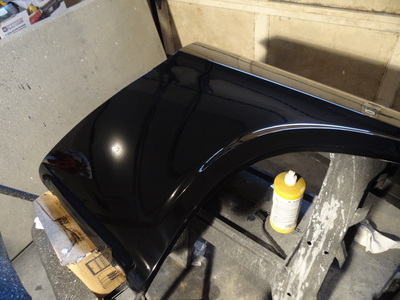
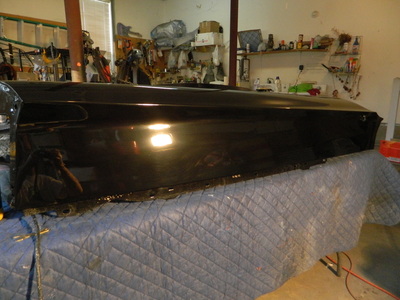
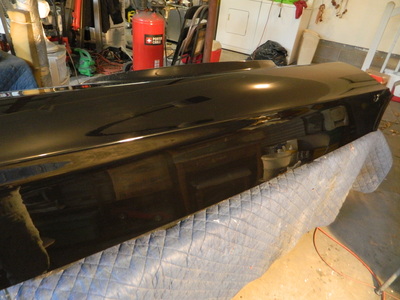
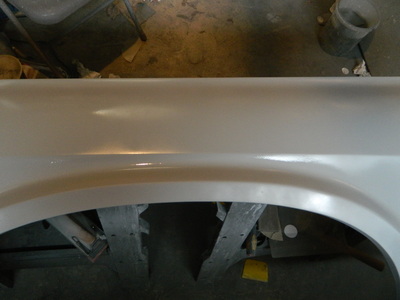
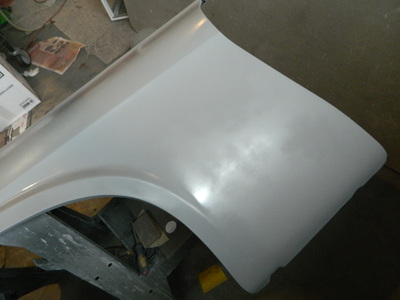
I'm sorry for being gone for so long..I've been out of town. But, today I re-painted the hood and painted the hood cowl. I'm finally happy with the results. I learned a couple of things along the way but, wasted about $30 worth of paint in the process. These pics are not too good, as they were done indoors. I will repost others later. 4hrs.


sept 18, 2013
Today I touched up a couple of dirt spots on the hood and cowl and maybe tomorrow, since I'm off, I will try to sand and buff them. Next, I sanded the rear quarter panel and removed the rocker panel clips and welded the holes up. Then, I sprayed epoxy primer on the quarter and back panels. 4 hrs
sept 19, 2013
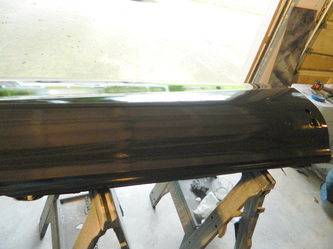
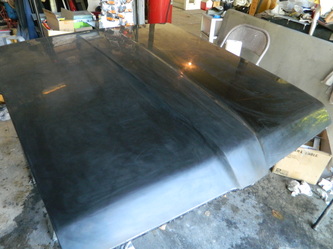
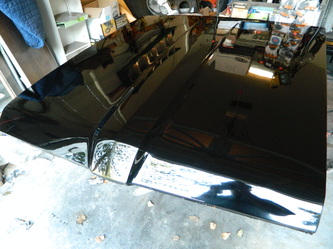
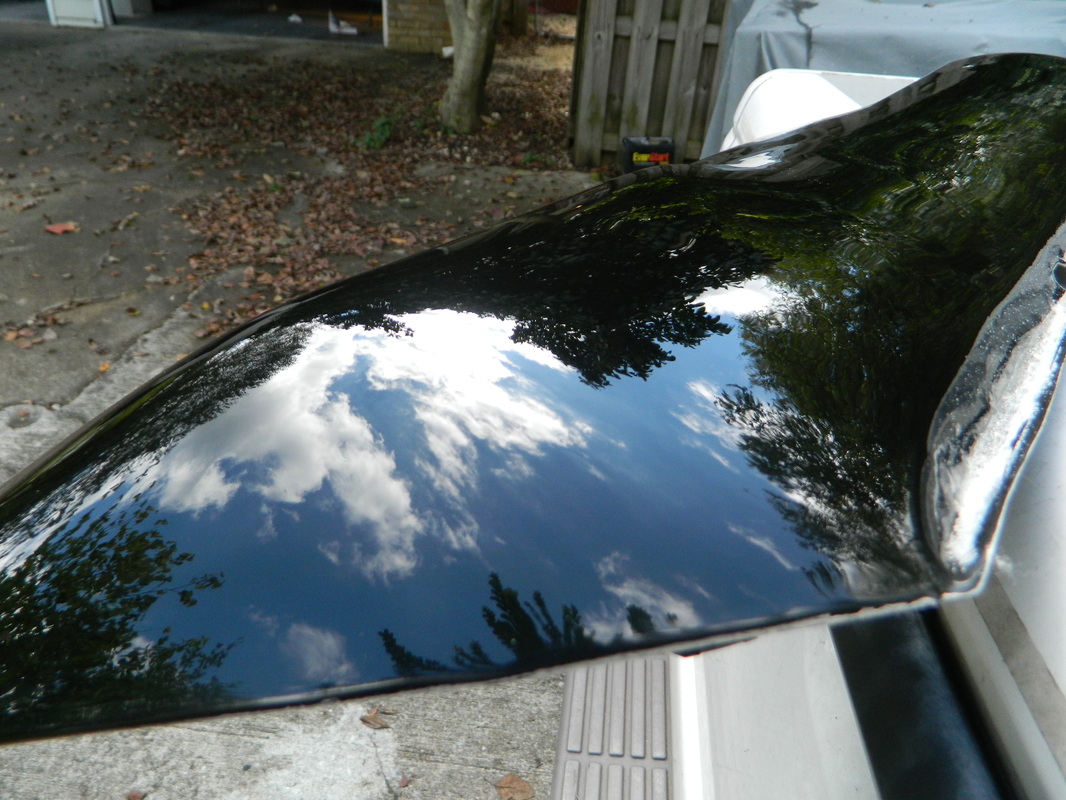
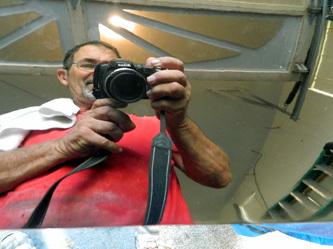
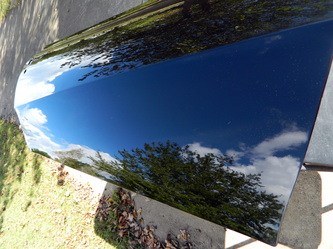
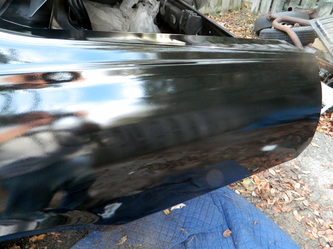
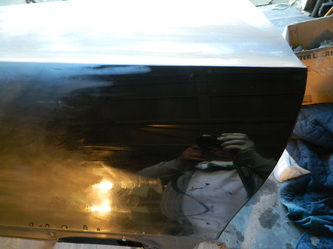
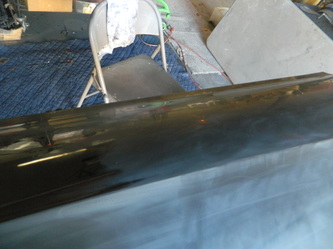
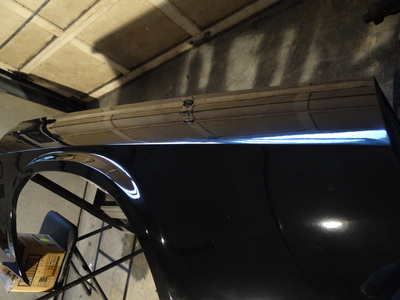
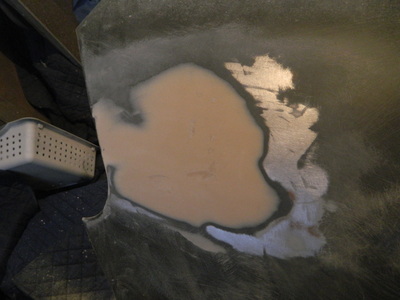
Since I was off today, I made a day of it. Started with sanding the hood, and if you look at the pics, First pic is before, next is 1000, 1500, 2000, and then 2500 grit all wet sanded by hand. Next, is the hood all compounded and polished out. I got all of the orange peel out and the sheet metal is laser straight, so I'm really pleased with the outcome..however there are a couple places with some fine sanding swirls, but I can always fix that later. 8 long and grueling hours
sept 20, 2013
Well..today I sanded and buffed the cowl. It went pretty well and I'm ok with the results. 4 hrs
sept 25, 2013
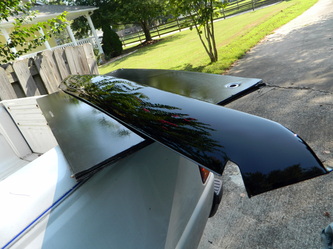
Sorry for the big gap..been working a lot, real working not fun working. Anyway..I sanded down the front valance and the gravel shield that goes between the top of the front bumper and the grill, and sprayed both of them today. It turned out better than anything so far..hmm I might just be getting better at this, or just lucky. Off tomorrow, so I will be sanding and polishing them. 3 hrs One thing i wanted to point out..there is a visitor tracker at the bottom of this page that lets me see where and what time someone looks at my blog. It doesn't gather any other information, but if you click on the map you can see all of the places and times. Thanks for looking at my site.

sept 26, 2013
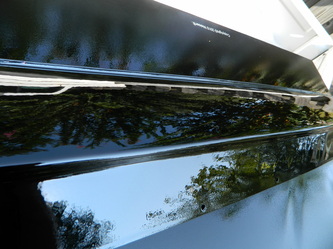
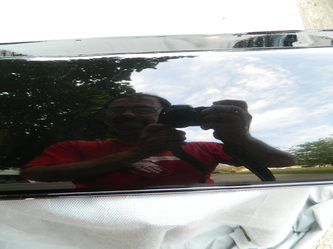
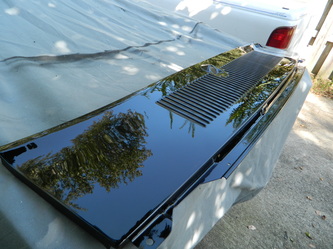
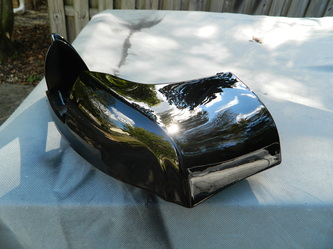
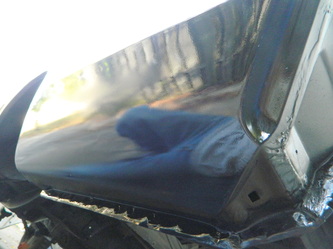
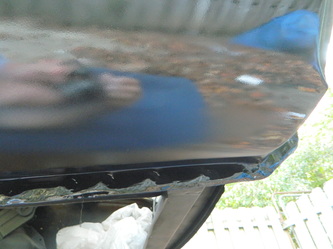
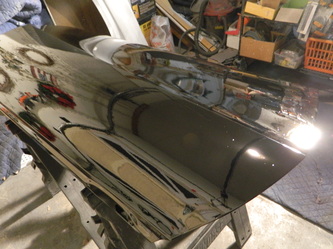
Not much to say about todays work, all I did was sand and buff out the lower valance and it came out very nice. Looks like chrome it reflects so well. 4 hrs
sept 29, 2013
Well peeps...I'm going down to Gulf Shores for 4 days so there won't be any Cougar work, but I'm going to try to have a good time anyway. Look for me again around Oct 3 or 4th.
oct 04, 2013
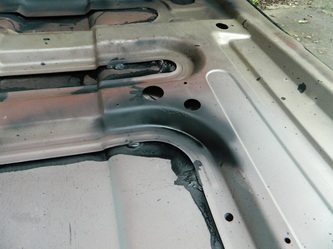
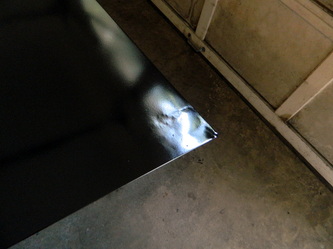
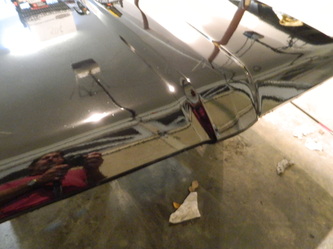
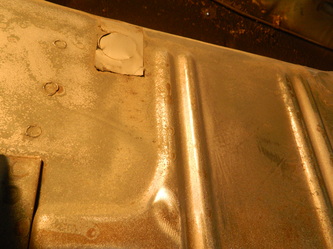
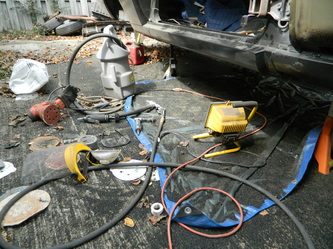
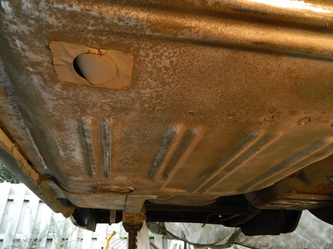
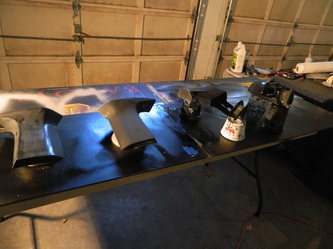
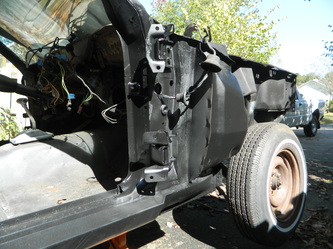
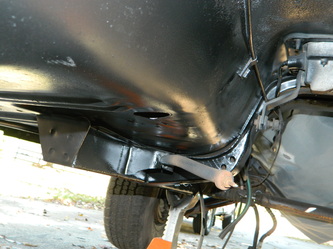
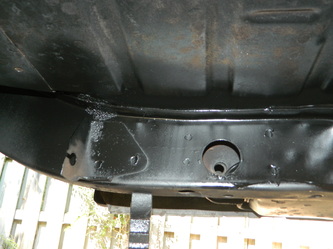
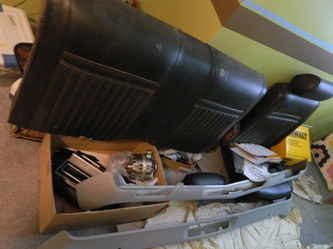
I'm back! I ran out of hardener for the black, so I ordered some more today, and decided to do something i've been putting off...media blasting the front and rear floor pans under the car. First is a pic of some of the things that it takes to do this. I was only able to finish the passenger side, maybe I can do the other side Sunday and then shoot some epoxy on it. 3 hrs
oct 07, 2013
Off today..so I started working on the passenger side door sanding, filling and 2k primer. I also did some minor filling and primer work on the 4 quarter panel extensions. I Might try to paint them all tomorrow. 6 hrs

oct 08, 2013
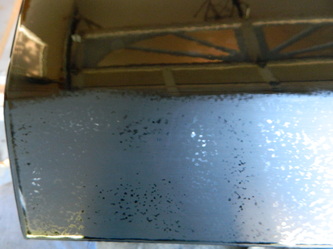
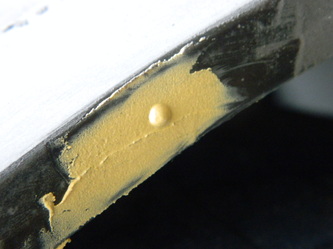
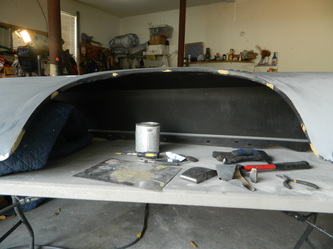
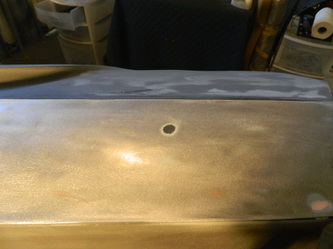
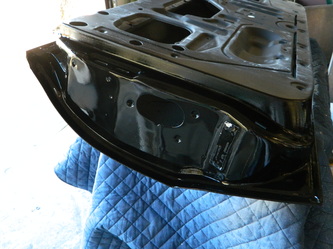
- I continued working on the door and corner extensions. In the two front extensions there were a couple of dimples on the finish side which were due to the mounting boss being right behind them. I guess its just a factory design defect that wasn't ever filled..so, I filled them. Then I painted them and the back side of the door. I also totally sanded and prepped the finish side of the door. In the pics you will see the grey 2k filler primer which I sprayed a light mist of semi-gloss black to serve as a guide coat for block sanding to reveal the highs and lows. Once all of the black is sanded away, it should be perfectly flat and smooth. 6 hrs
oct 10, 2013
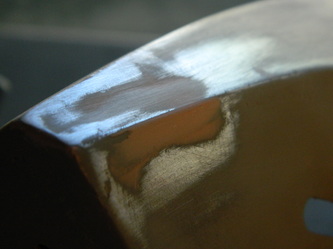
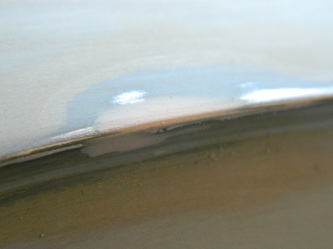
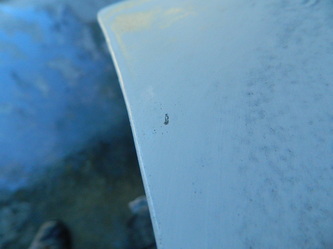
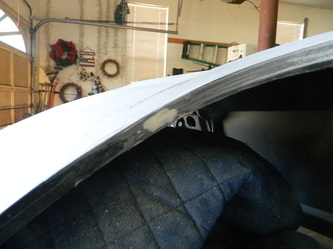
I started out sanding and buffing the corner extensions but quickly discovered I hadn't shot enough paint on them, as I color sanded through in a few places.....so, I decided to rough them up and re-shoot them, along with the outer skin of the passenger side door. Everything turned out good with a minimum of dirt. In the first pic you can see the primer showing on the edge. 4 hrs

oct 14, 2013
What a great day it is here, 70 degrees and clear skies. I finished sanding the door with 1000, 1500, 2000 and a new 3000 grit. The 9th pic is of the door with the left side sanded with 2000 and the right with the 3000, you can see the right side is darker and shinier. Of course after the sanding then there was several passes with rubbing compound and then several more with polishing compound. The first pics are older just showing some of the steps to get it to where it is today. Probably somewhere around 30-40 hrs on this door alone..today just 4 hrs.


oct 15, 2013
Today was pretty easy compared to yesterday..I just sanded and buffed the 4 corner extensions. Nothing exciting happened, turned out as well as expected. total time 6 hrs.
oct 16, 2013
Starting on the driver door..two coats of 2k primer 1hr
0ct 17, 2013
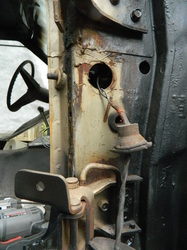
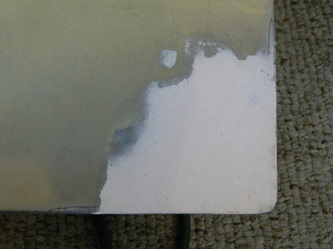
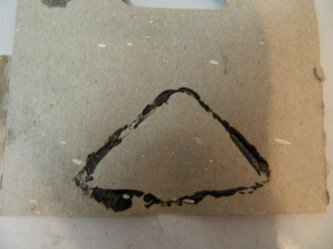
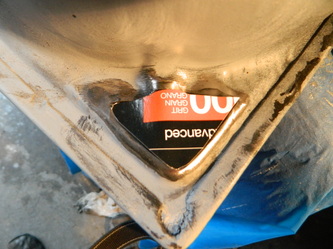
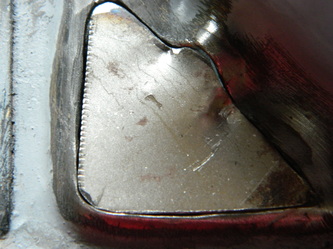
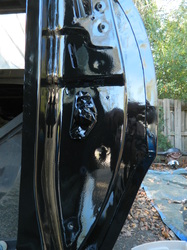
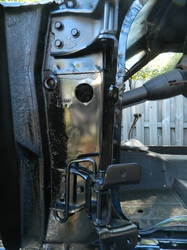
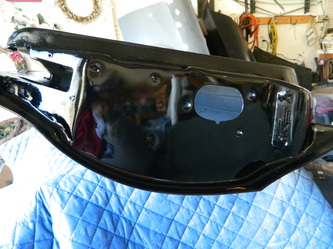
Continued working on the door, using a glide coat to expose the highs and lows. There were very few so the outer surface is ready for paint. Then when I flipped it over to prep the inside, I found a corner that I had to cut open to repair, wasn't patched..so I made a patch panel by making a cardboard template then welded it in and smoothed it out and primered it.
oct 23, 2013
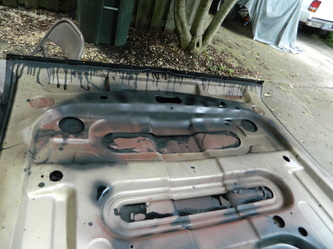
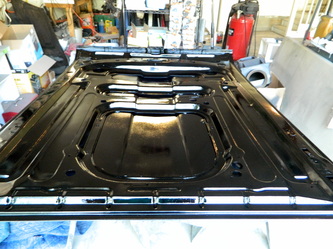
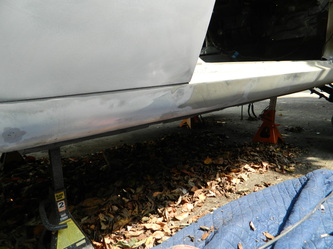
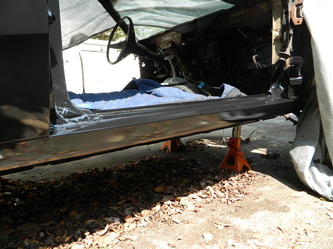
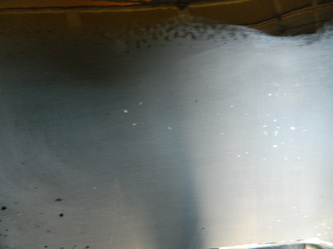
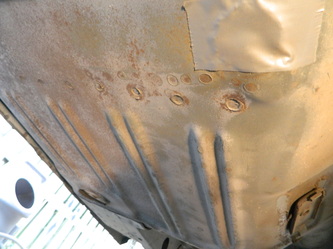
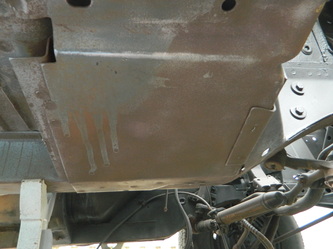
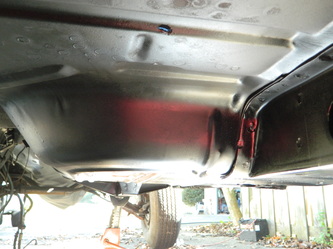
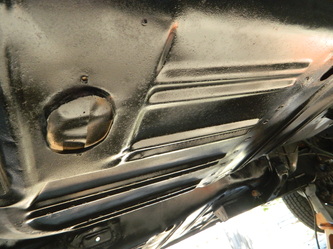
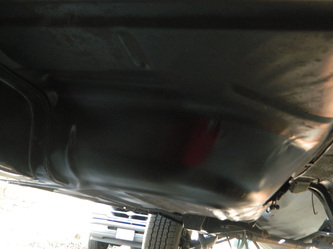
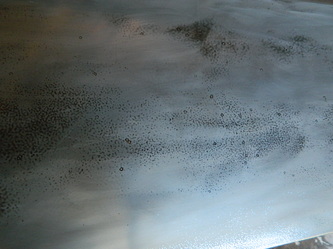
Last Monday, I attempted to spray my driver door, but it was a little too cool and I over activated the paint and I got runs and orange peel and little tiny white spots everywhere. I sanded it down yesterday, but decided to not paint it today, as it was pretty cold this morning and I have to work this afternoon. So, I finished blasting under the floor pan and shot black epoxy primer on it. I will try to repaint the door tomorrow afternoon. 4hrs

oct 24, 2013
Last Monday, I attempted to spray my driver door, but it was a little too cool and I over activated the paint and I got runs and orange peel and little tiny white spots everywhere. I sanded it down yesterday, but decided to not paint it today, as it was pretty cold this morning and I have to work this afternoon. So, I finished blasting under the floor pan and shot black epoxy primer on it. I will try to repaint the door tomorrow afternoon. 4hrs


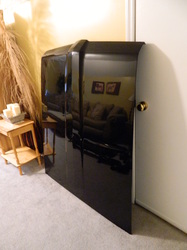
Just a little side note..I thought I would show you where a lot of the Cougar resides..up in the upstairs "Cougar den". My wonderful wife has allowed me to store these clean, finished items there.

oct 26, 2013
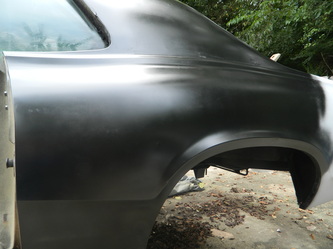
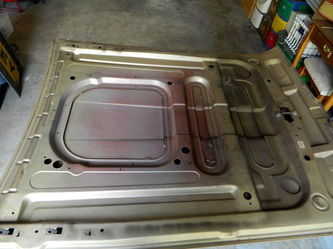
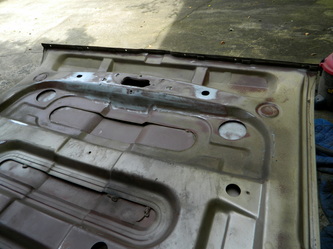
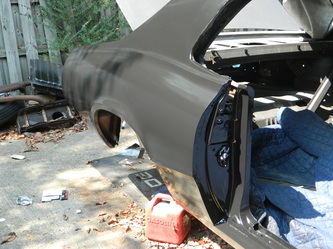
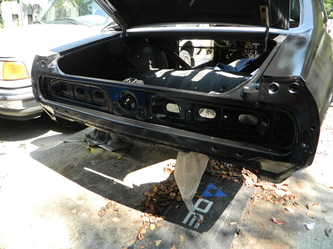
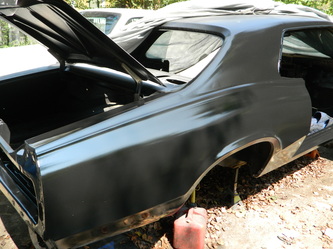
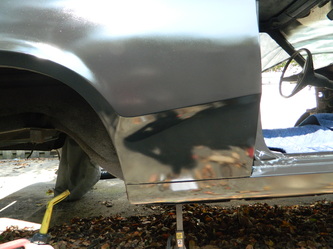
Today I sanded down the left rear quarter panel and then shot it with black epoxy primer. Now, the body shell is completely in epoxy primer. Next step will be filling all the little dents and a lot of sanding. Then, the 2K surfacer primer and more sanding. 4 hrs

oct 27, 2013
Not much to say except, I repainted the driver door..looks better, hope it sands and buffs out ok.
oct 28, 2013
All I did today was sand down the door and fix a few small flaws, finish and bluff tomorrow. 2 hrs
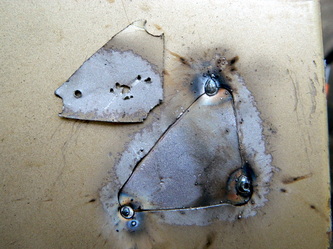
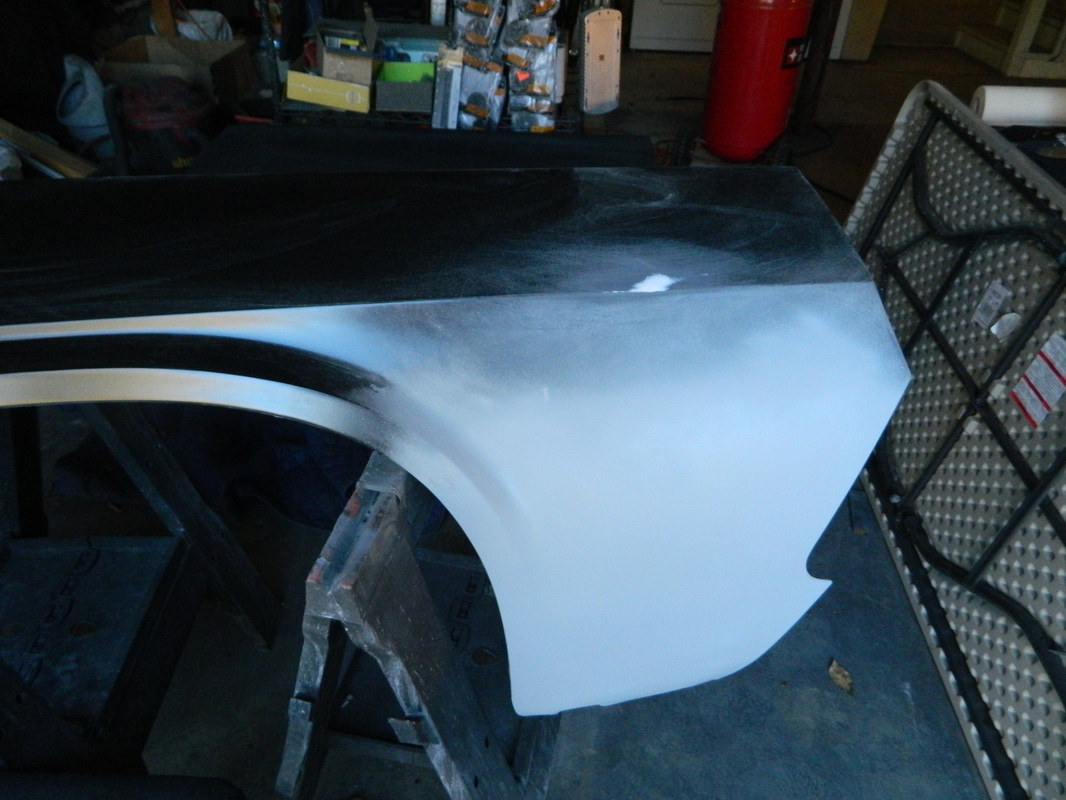
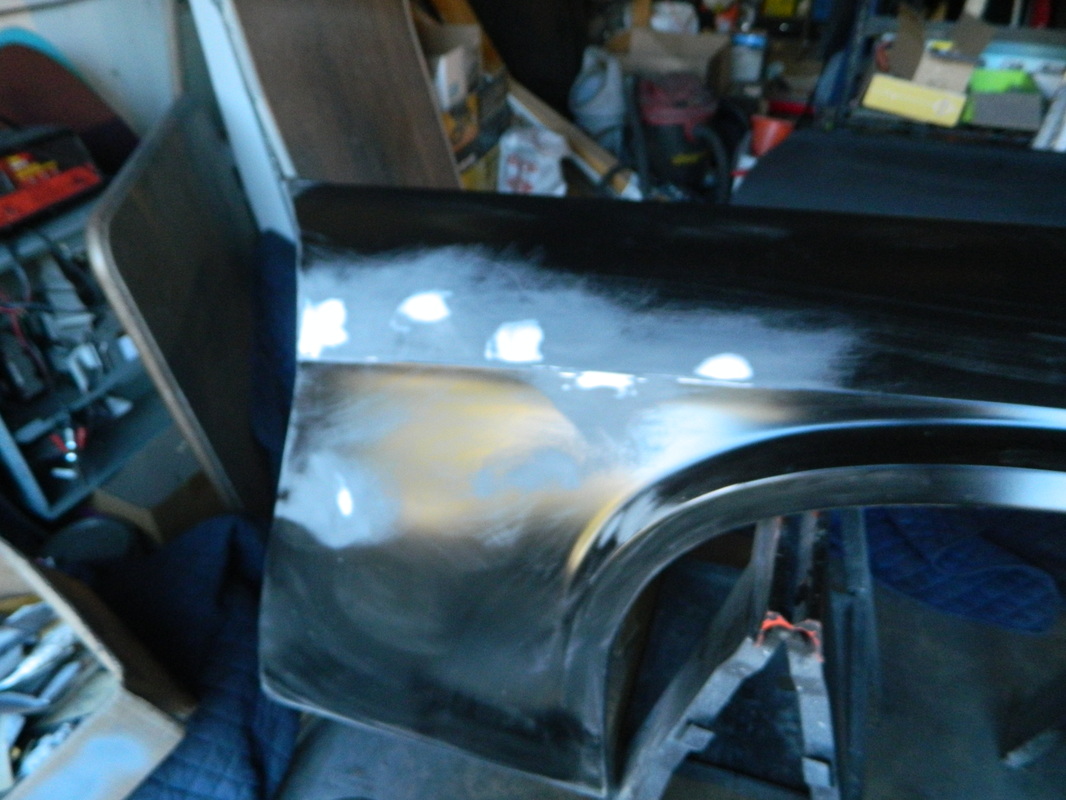
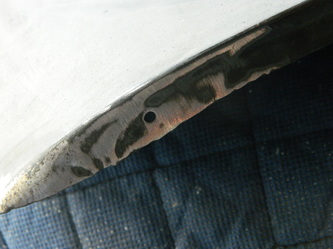
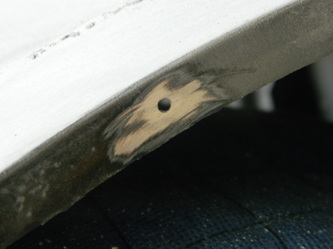
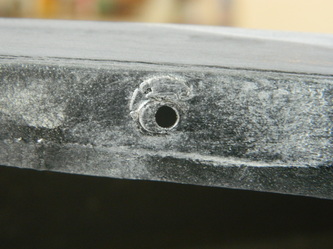
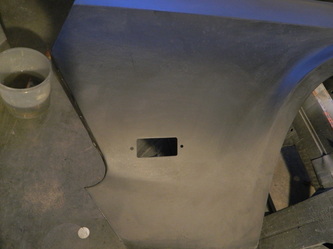
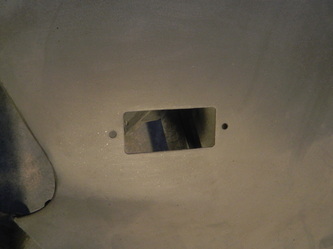
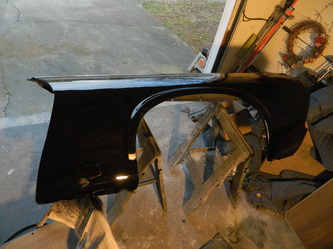
oct 29, 2013
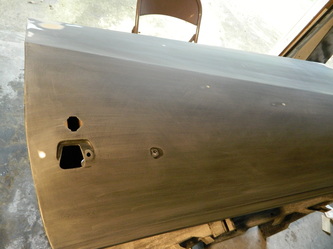
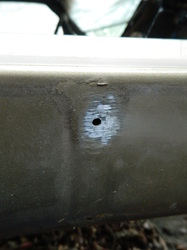
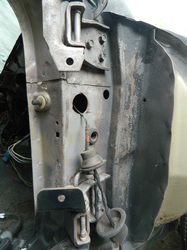
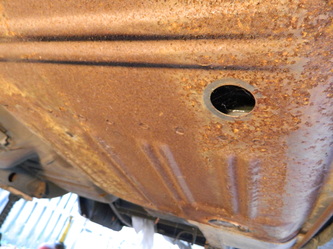
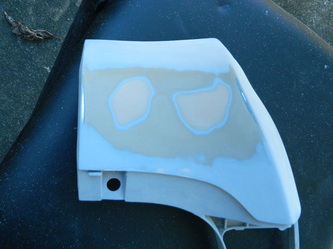
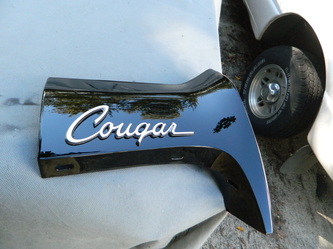
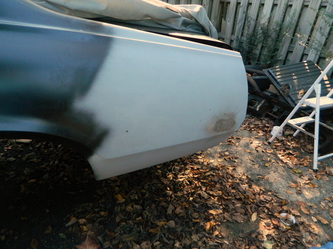
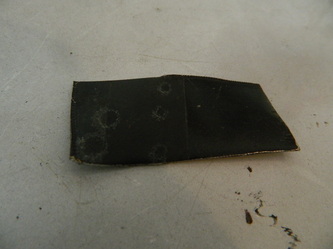
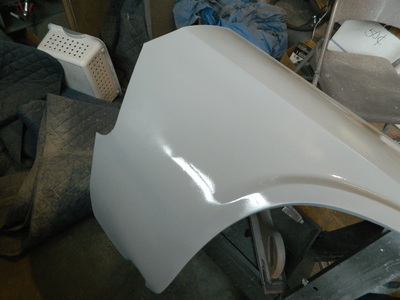
Well, I was going to sand and buff the door but it turned out that it needed a few more little flaws fixed so I did that, and while it was drying, I drug out the right front fender and decided to work on filling the side marker hole and the rocker panel screw hole. I made a patch, kinda looks rough in the pic, and then welded it in, welded the two holes and the rocker panel hole shut. Next was grinding it all kinda smooth and then filling with bondo and then finally a couple coats of fill primer. all of this took 6 hrs.


nov 04, 2013
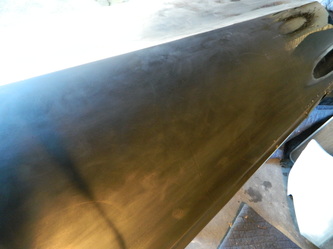
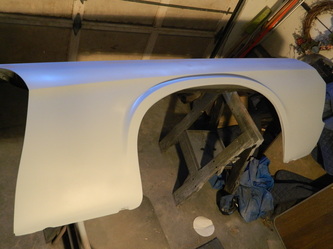
Today, I went back to the right fender again, sanding it down pretty much to bare metal and then two coats of epoxy primer. 4hrs
nov 05, 2013
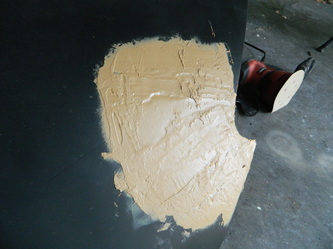
know for some of you..I seem crazy..bondoing a newly primered fender that looks perfect, but there are small waves and pin holes and the like that must be filled before I can even spray the 2K primer on to smooth out the surface. Does that make sense? Anyway thats all I did today. 2 hrs
nov 07, 2013
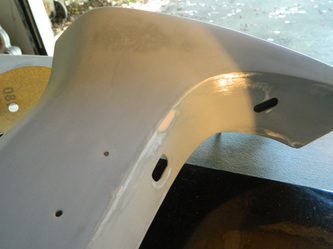
Today, I sanded the fender down in preparation for the 2K primer and also filled the holes in the wheel opening that were for the wheel lip moldings I'm not going to use. I just put a dab of bondo on the back side and smoothed it out on the outside, so if I ever did want to use the moldings the holes would still be there. 3 hrs.
nov 14, 2013
It's been a few days since I last worked on the Cougar..because I have been working a lot and poor weather too. So, I got the other fender out and fabbed a patch for the turn signal and welded it in and then stripped the primer off it down to bare metal and then put two coats of epoxy primer on it. Next, I decided that since I had used a space heater to heat the garage up to a toasty 75 degrees, I could re-spray the door that didn't turn out well. This time it looks like it will be fine after the usual sanding and buffing regimen. 6 hrs

nov 18, 2013
I finally had a chance to so some sanding on the driver door, it was painted almost a week ago. Standard procedure, 1000, 1500, and then 2000. I have to go to work, so tomorrow I will finish sanding it up through 3000 and compound and polish it. I did polish one corner about 90%, just to see how it would look. I'm very happy with the results. 3 hrs
nov 19, 2013
Today I finished up the door..starting with da sanding with a new 3000 grit trizact pad and then buffing with compound and then polish. It turned out very nice except for one small scratch, which I believe I can touch up later. I also sanded and buffed the inner side by the latch. 3 hrs
nov 20, 2013
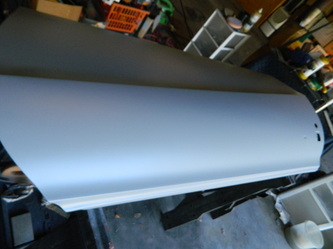
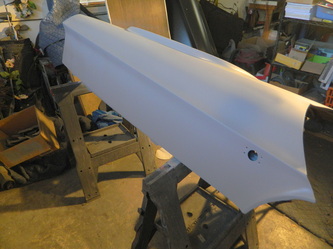
Off today..so the door is finished and upstairs in the "Cougar Den". Next, I shot two heavy coats of 2K surfacer primer on the right front fender. It's looking very straight and probably won't need much before shooting black on it. Now I have sanded the fender with 600 wet and 800 dry using my new trick homemade sanding block made out of some pipe insulation and rubber heater hose, it worked great for curved areas 3hrs
nov 21, 2013
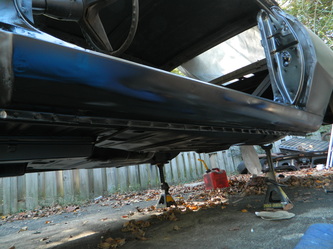
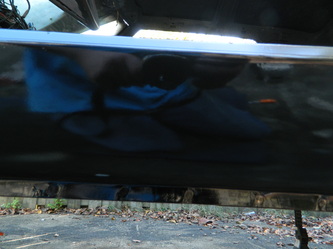
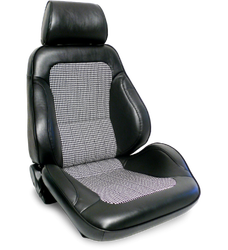
Today, I sprayed the right front fender and it came out pretty good, but it has some orange peel and dirt nibs and two small run drips. But, its nothing that I can't fix. So..on to the real work in painting, more sanding and buffing...yea!! The last pic is of a Procar houndstooth seat that I think would look great in my Cougar and would attract a lot of oohs and ahs from U of Alabama fans. Roll Tide! 3hrs
nov 22, 2013
Today I just sanded the fender down with 1000 grit and then filled a couple of minor divots with a brush. 2 hrs
dec 02, 2013
Well, its been a while but I finally got some buffing done on the right fender. It's not completely done, still have to do the finish polishing on the top of the fender..6 hrs (you would think I could get more than that done in 6 hrs)
dec 06, 2013
Didn't have to go to work until noon, so..I buffed some more on the fender. I think it is as good as it will get for now. I may be able to do more with it after its on the car. 3 hrs.
dec 08, 2013
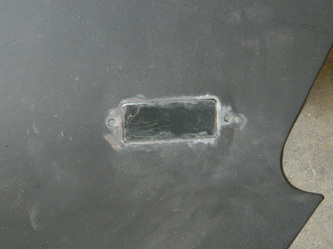
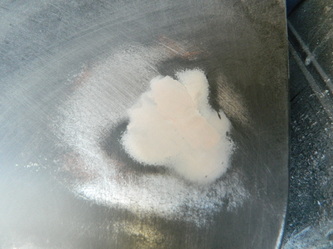
Yesterday, my wife and I moved the finished right fender upstairs into the "Cougar Den" for storage. Today I started filling the marker light patch on the left side fender. I got it pretty close and will finish it up tomorrow and maybe shoot some 2K primer on it too. 2 hrs.

dec 09, 2013
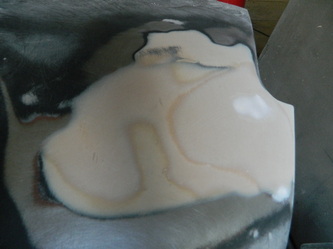
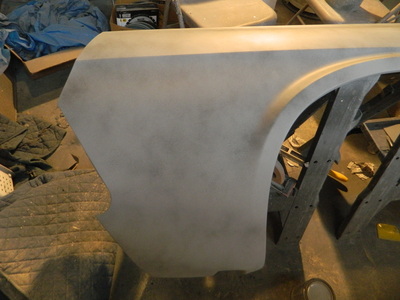
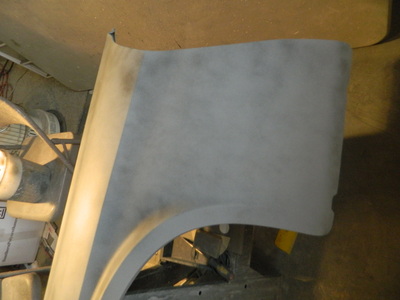
Today I finished up the bondo work on the marker light and then went all over the fiender with 220 grit to scuff and level the surface. Next, I shot two heavy coats of 2K primer.
dec 10, 2013
More of the same stuff...put a glide coat on the fender and then sanded it down with 800-1000 2 hrs.


dec 18, 2013
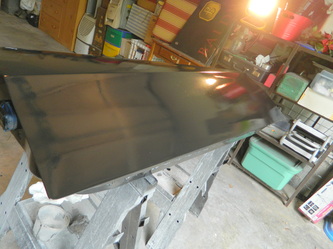
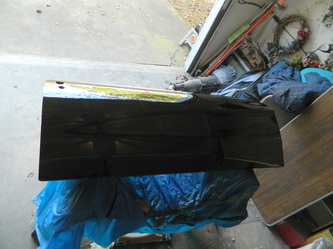
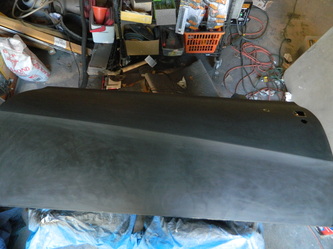
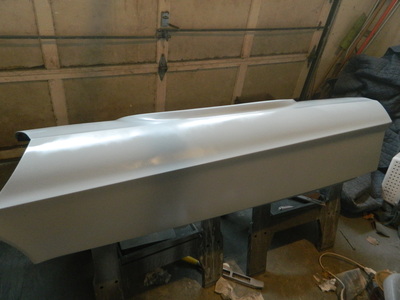
I finished filling all the small scratches and pin holes on the fender and it is now ready for paint. I didn't take any pics, as it was only a couple small places I fixed. Next, is the trunk lid, the final removable panel to paint. I don't think it will take much to get it ready, as I recall doing a pretty good job on it before doing the epoxy primer. I will do it next and then paint it and the fender on one day when the temperature gets in the high 60's or 70's. 2 hrs
dec 31, 2013
Happy New Year! I'm off today so..I pulled the trunk lid off the car and went over it with 600 and 800 grit and then shot some 2k primer on it. 2 hrs